Thursday, 24 April 2014

One Step Further ... Playing with Patterned Paper!

Hi everyone, Annie here!

Like most scrappers, I love patterned papers and I have piles of the stuff. I can't get enough of it! It's beautiful just as it is, but it's also fun to tweak it a bit to add interest, or to suit a particular project.

Today I'd like to share a few ideas for altering patterned papers to take them one step further ...


This MME Lost & Found Record It! 6x6 paper pad is really gorgeous and so versatile - I've already used some of it to make a valentine for my DH and two pop-out birthday cards for a friend - but I have all of this left and I thought it would be perfect to experiment with.


Here are the results of my experiments with cutting sticking, punching, doodling, embossing, flocking, layering and eyeleting (if that isn't a word, then it should be!) ...


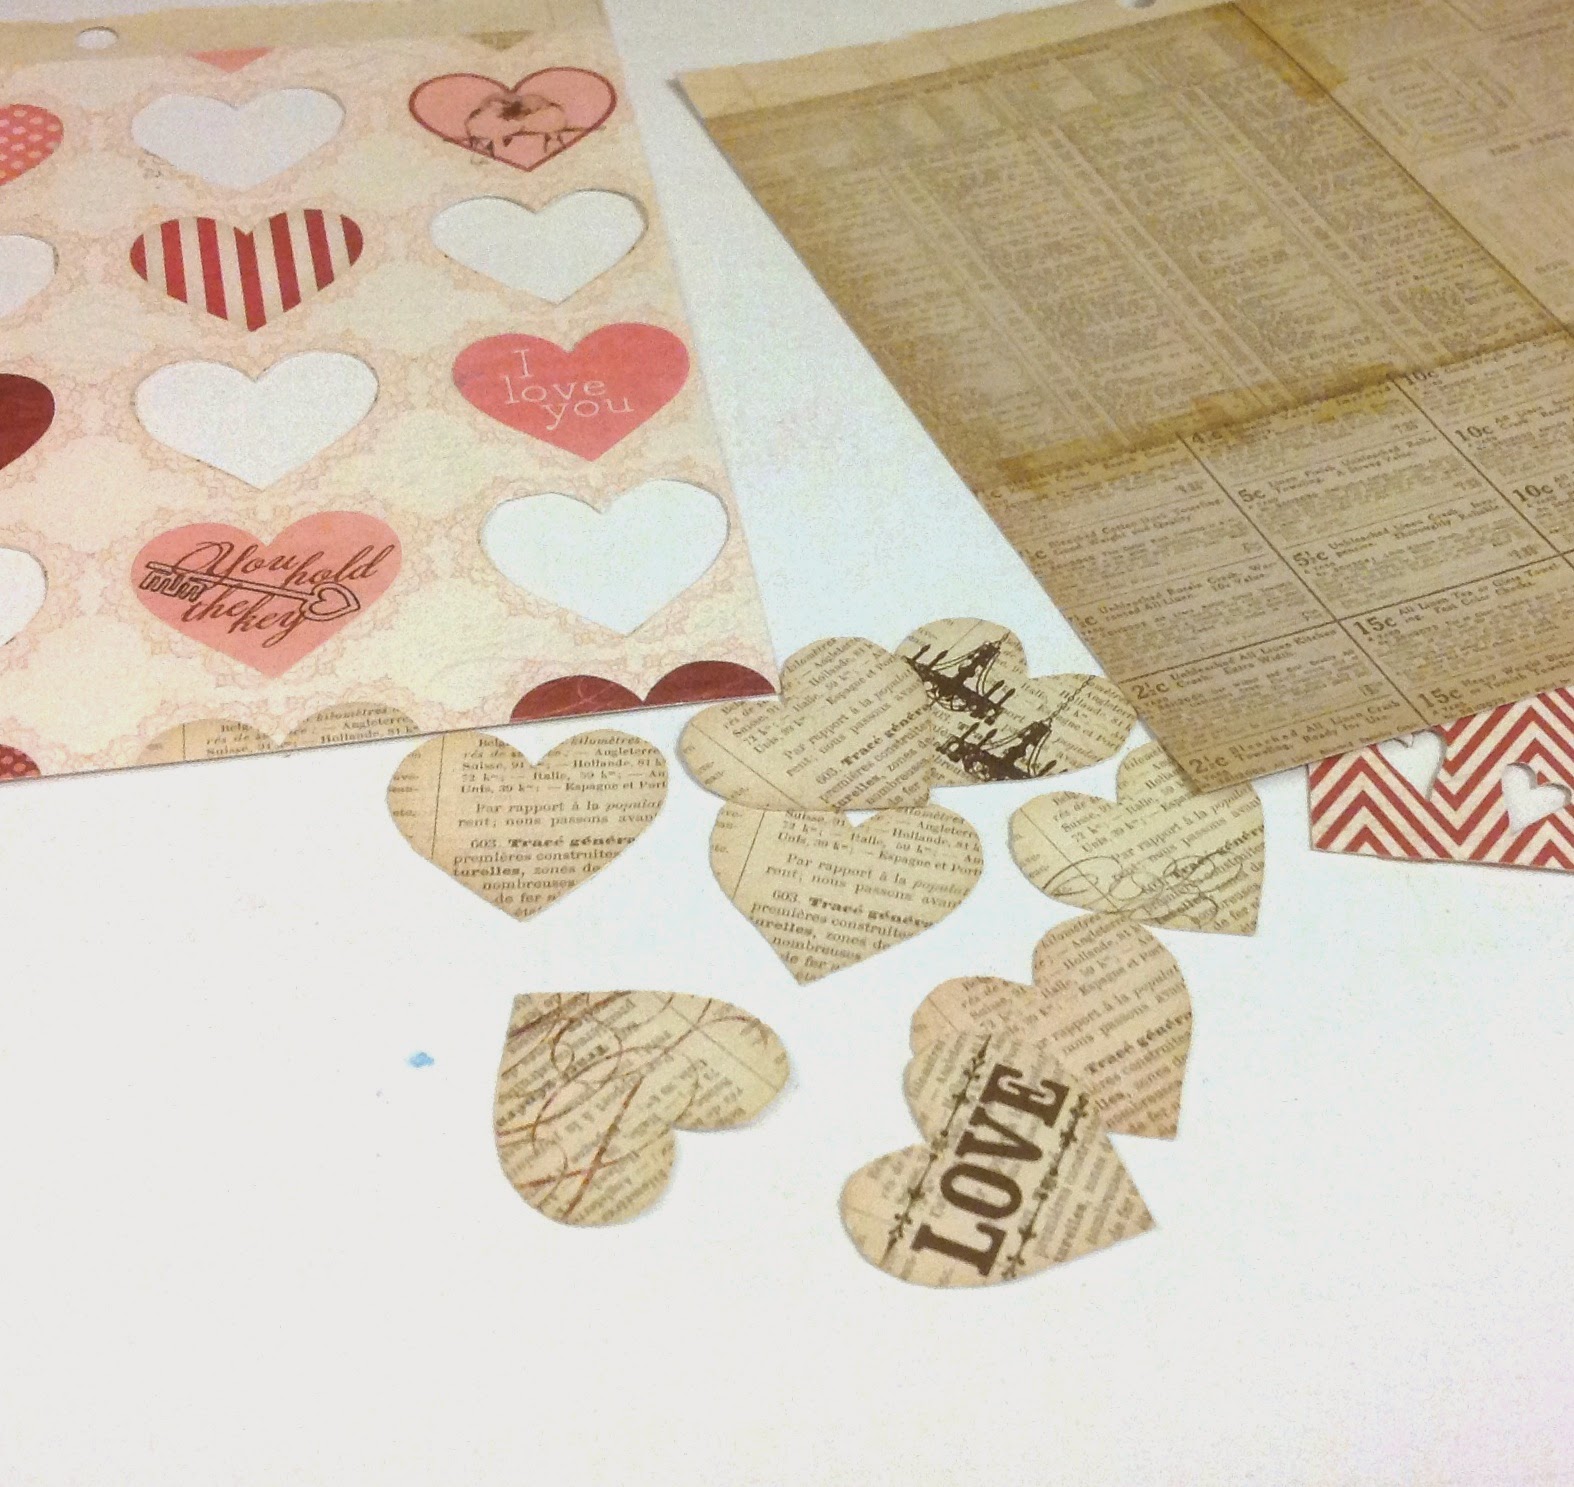
First I took the pretty heart pattern ...


... I cut a few of the hearts from another identical sheet, inked the edges with Distress Inks and adhered them with foam dots to add dimension ...


Then I took these three sheets ...


... I carefully cut out the bookprint hearts, inked the edges and adhered them to the bookprint paper to give extra interest and texture to the background ...


Layering the heart paper over the chevrons paper allowed the pattern to show through the cut-out heart shapes, and I doodled around them with a pencil to add some definition ...


Next, I dug out some eyelets (I can't be the only scrapper who has loads of these lingering in my drawers from years ago!) ...


... and had fun dotting them around to accentuate the spotty patterns ...


Out came my trusty heat gun next, and I used a pearlescent gold embossing powder to enhance some of the stripes ...


It works better with the extra-strong tape and I always burnish it with a bone-folder to make sure it's stuck and help the backing to come off more easily. Here's the result ...


Whilst I had the heat gun out, I did a bit more embossing, using a juicy Sakura pen to add handwriting and doodling to the bookprint background ...


... and then adding embossing powder in a deep shiny lipstick pink ...


I used a gold pen and more embossing to bring some fun textural detail to this lacy pattern ...


Finally, I broke out the flock and used it to create tactile accents ...


I tried a couple of different methods to make the flock stick, and this one seemed to work well. First, I filled in the parts I wanted to accent with the Sakura Glaze pen ...


... then sprinkled with the flock and left it to sit for a while until the pen had dried ...


... then, without shaking off the excess, I folded a sheet of copy paper around it and ran it through my Cuttlebug ...


... then brushed off the excess. This way, the shape stayed well defined and the flock was stuck fast, adding a nice tactile detail to the page ...


These little 6"x6" paper pads are so versatile and you can make them go a really long way. I used my "enhanced" papers to make a couple of scrapbook pages with very different looks ...

Watch:


For this page about my little great-nephew, I added in some chipboard stickers from the MME Chalk Studio Collection and a couple of scraps from the MME Chalk Studio 2 Collection, some Bazzill cardstock and black Prima Canvas Alphas.
I sanded the edges of all the chipboard pieces and used chalk inks to colour them - this is something I often do to make embellishments match my page.

I Love Us:


For this page showing a "double selfie" of me and my DH, I've used small pieces of my patterned paper to form a grid design. The camera is a Simple Stories Daily Grind chipboard sticker - I distressed it and added a button tied with twine to cover the heart motif which was the wrong colour for my page. There is also a cut-apart from the Teresa Collins Daily Stories Collection and I made a couple of embellies from the patterned paper scraps.

Well, after all this I still had loads left in my little paper pad, so I chucked in some more of the Chalk Studio chipboard stickers and four empty toilet rolls ...


... which have been squashed flat overnight for reasons which will become obvious when you see the finished project ...


... a little toilet roll mini book for my niece, with pull-out tags for photos and journaling. These mini books are so much fun to make - you can find loads of tutorials on You Tube.

I hope you will have a go at taking it one step further to give your patterned papers a unique twist and remember to share your results on our FB page!

Thanks for reading my post, see you again soon.

Annie :o)xxx

P.S. If you need more 'One Step Further' inspiration, check out Louise's Stitching and Stamping post HERE!

Annie blogs projects full of beautiful details at her blog Arty Farty Annie. Please pop by and say hello!

Tuesday, 22 April 2014

March Challenge ~ A Winner And A Few Favourites

Hello .... I hope you had a wonderful Easter weekend!

Did you think I had completely forgotten about the March challenge?

Well, I hadn't .... it has been there on my rather long "To Do" list but life has simply been too busy and I just hadn't quite managed to get around to it .... so better late than never ....

Thank you so much to everyone who joined in with our March Challenge - we have loved hopping around your blogs seeing your projects.

At the end of this post we will announce the winner picked at random to win a little prize very kindly donated by our DT member Annie.

Over the last few weeks we've enjoyed hopping around your blogs to see your layouts and today we'd love to share with you a few of our favourite entries! It was so hard choosing this month. 

Elaine


Fay


And now for the winner!!

Number 8 was picked at random which is Furrypig .... Well Done! 
Please could you get in touch so we can send you your prize.

Thanks again to everyone who joined in last month .... we hope lots of you are busy creating layouts to enter into the April challenge which is open for a few more days yet - until the end of the month ... and we will pick another few favourites and a winner to share here sometime in May.

Friday, 18 April 2014

Your Undivided Attention - Part One

Hello everyone, Lisa-Jane here today!

Lots of manufacturers now are making wonderful collections aimed at people using pocket page protectors, as well as the various designs of divided page protectors themselves. Previously paper collections might have had one sheet that was designed to be cut apart but the reverse of that sheet was often a solid colour so you got the best of both worlds.  

Now though, with so many people using these divided page protectors, the reverse of the pre-designed sheets are often intended to be cut apart too. That's fine if you have that particular design of protector but what if you don't? Or, what if, like me, you love a collection but you just want to use it on standard 12x12 pages? Do we end up missing out because we don't want to use undivided protectors? I don't think so! 


In the next 3 posts I'm going to show you some designs I've made using the Simple Stories Homespun Collection which coordinates with the Simple Stories albums and protectors. However my projects in the first 2 posts fit my normal American Crafts D rings albums and protectors and the final 2 projects are "off the page" style.

Firstly I went through and cut all the sheets into their relevant sections. As I was cutting, some of the items were jumping out at me as needing to be used at their intended size and others I knew I would be happy to use in another way. This second pile that I set aside could be used for die cutting, fussy cutting, punching shapes, layering edges etc. I also took off all the branding strips and cut off the information so I was left with just the usable pieces. Making these decisions early and assembling a "kit" in this way meant that I knew exactly what I had available and also that I didn't wobble when I wanted to cut a small piece of something!

Family:


For this first layout I used one of the pieces of 12x6 as a panel just in from the left hand side. These large panels often have something you can choose to use as a title too so an alternative could have been cutting the panel along the second "plank" from the bottom. I wanted to use it in its entirety here though as I think it makes a natural home for the photo above right.

I also cut one of the 6x4 cards to make a second mat for my photo... 


I really liked the pattern and I knew I wasn't going to use the sentiment but my photo was already matted onto another 6x4 piece so I needed to do some creative patchwork!

 I cut an L shape and then adhered the piece with a small gap, then adhered the photo on top. I chose a 3x4 card from the pile I had set aside for cutting up and punched a couple of pinked circles for layering.


 The branding strips make great banners and are perfect for disguising small gaps and joins. I added some texture with stickers, chipboards and brads from the collection.  


I added the coordinating banner sticker on pop dots and I love the way it mirrors the banner on the wood grain panel.


My second layout was completed on a piece of A4 cardstock. I use the standard office page protectors for this size as they still perfectly fit the AC ring binders and add a bit of variety to the album.

Elliot:


Here I've cut down a photo to 3x4 and made a grid from 3 other 3x4 cards that I really liked. Two of the cards are decorative and the third is for journaling. I adhered them to a piece of the cardstock that I cut from the centre of the background to make a narrow frame for the grid. This helps the eye to see the grid as one whole piece and also lifts it slightly from the busier background.

I added texture and dimension with buttons, twine, bobble trim and a couple of branding strips. I also added to the printed embellishments using chipboard stickers:


The little label area on this card was a perfect home for my great nephew's name and the red alphas in the set worked perfectly with the reds I was bringing out in my colour scheme.

So lets recap - so far we've used a 6x12 panel as it is, incorporated it as a title, made photo mats with 6x4 cards, made a grid with 3x4 cards, used a 3x4 card for a journalling block and used "spare" cards and branding strips for punching shapes and making embellishments. 

Wow! Who said you could only use this collection with divided page protectors? 

And there are still 2 posts to go in this series! Join me again soon!

Lisa-Jane x

P.S. Are you loving Simple Stories right now? Check out the other Simple Stories collections in stock at SJ Crafts HERE!

Lisa-Jane shares lots of crafty creations and regularly joins in with 'What's On Your Workdesk Wednesday' over on her blog 'Inside My Head'!

Monday, 14 April 2014

Using Stickers For Starting Points!

Hello, it's Louise here today. Welcome to SJ Crafts.

Last month I used Amy Tangerines Plus One collection to create these layouts. Today I'm here to share with you another two layouts and some greeting cards using the same collection. This time my focus is on the Amy Tangerine's sticker sheet.


How many of us are guilty of buying collection kits that include a 12x12 sticker sheet? You know the sheets I mean, the ones that usually include an alpha set and word stickers.

I am definitely guilty of this, even when I purchase a few sheets of 12x12 paper or a small 6x6 paper pad I check to see if there is a sticker sheet to accompany them! 

It's safe to say that I have quite a selection of these 12x12 sticker sheets and most of them look very similar to this one.....


.....half used with stickers cut out, where I have placed them onto a project to see what they look like without sticking them down straight away.

Instead of putting this half used sticker sheet away with all the others I challenged myself to create a couple more layouts using a sticker as a starting point. Well, Amy Tangerine has designed a fun collection, it would be a shame not use all those stickers, wouldn't it?!

On the right hand side of the used sticker sheet I shared with you above, you will see where a long pink sticker sat. When I decided to use a sticker as a starting point I adhered this sticker to a sheet of 12x12 cardstock before I thought to take a photograph. From the whole sheet this is the one sticker that jumped out a me shouting "use me, use me", so after placing it on the cardstock I put it to one side knowing I would need to locate the photo I wanted to use.


In the meantime I selected a few more stickers that I knew would work with the second photo I'd chosen to scrap. I mixed the 12x12 sticker sheet with some of Amy Tangerine's puffy stickers. The large sticker "an everyday kind of adventure" was the sticker I'd chosen to base my layout around:


I started out with a sheet of white cardstock (it seems to be my "go to" supply at the moment), my photo and my adventure sticker. Placing the stickers and some Amy Tangerine cards from the 6x6 pad I started to build up my page:


This photo of me was taken on top of an open air bus on a tour of Liverpool city. There I was, in my element, taking lots of photos and in true British Style, the heavens opened. We had to move downstairs and as it continued to pour with rain, more people squeezed onto the bus, the windows steamed up and bang went my sightseeing photo taking tour :). This fun sticker collection included an Umbrella too. Just perfect.

Not only did I use a sticker to base my layout around, I used the alpha stickers and Amy Tangerine's Cards from the 6x6 paper pad to create my title....

My happy place is behind this camera.
 
Sunday Morning Routine

Remember the big long pink sticker from above....by now I'd located the photo that I'd had in mind to scrap with this sticker. A rugby photo no less. One where the funky socks would work well with the funky stickers, and one where this sticker would record our Sunday Morning Routine.

Really, this sticker I could have used again and again. It's a perfect sticker to use to record so many everyday things.

The sticker was used to create the title for my layout.


More Amy Tangerine stickers from the above sheet were used along with an Amy Tangerine badge and bradstudio calico stars and Mister Huey Mists.

As I went to photograph my layouts I moved my corner rounder across my desk and done something I haven't done in a long while. I corner rounded my layouts. I'd forgotten how much I like the look.

Cards

After completing the layouts I took another look at what was left on my sticker sheet and decided to make some cards using papers from Amy Tangerine's 6x6 paper pad and some of the remaining stickers.


First up is the Typewriter sticker. I trimmed down a sheet of 6x6 patterned paper from Amy Tangerine's pad and inserted side panels. The patterned paper is rather busy so the plain grey side panels tone it down a little. 


To add some texture I ran the paper through my sewing machine. It is a good idea to sew your paper before you stick it to your card. That way the stitching will not show on the inside of your card.


Adding a little stamped text, a badge and the typewriter sticker, there is a little card on it's way to a lovely recipient.

The world globe was the next sticker left on the sheet that I wanted to use. I took three patterned papers from the paper pad to layer and stitch.
The small grey hello sticker and alphas together made a greeting.  I added the globe, a few stars and twine and I have a card that I love.


Did you spot the teeny cloud on the above sticker sheet? Half way up on the right hand side under the orange umbrella! I wanted to use it and noticed that Amy Tangerines puffy stickers also had a teeny puffy cloud. Picking out three patterned papers again, I went for the house paper and layered and stitched along the top of the layered papers to add design and texture. With a few gems and the puffy house sticker I finished my card.


It feels good to have used up most of my sticker sheet. Amy Tangerine's stickers are inspiring and fun to use. I enjoyed using them so much that I'm now going to pop across to SJ Crafts shop to see what collection and sticker sheet I will purchase next.

So...   
  •  are any of you are going to admit to having lots of these half used sticker sheets? 
  • how many of you are now thinking you could use these stickers on your next project?
  • are you thinking about including a sticker sheet next time you shop for supplies? 

Please do leave us a comment and let us know.
Thank you for stopping by, have a lovely day! 

Louise x

To see more of Louise's inspiring craft projects check out her blog Boys, Bugs and Beautiful Buttons!