Sunday 23 September 2012

12 x 12 Collection Kits - By Louise

Hello there, it's Louise here today.
I hope your weekend has been wonderful!

Remember Lisa-Jane's fabulous series of projects using 6 x 6 pads?

Well, this week I'm going to share with you my love of 12x12 collection kits. 
Like the 6 x 6 series there will be posts throughout the week, each with a new layout! I hope you'll join me!


Many, many moons ago when I started scrapbooking 12x12 papers didn't exist, at least not here in the UK.  Papers and Cardstock were 8x10 and very limited. Luckily for us scrapbooking has expanded and there is now a wealth of supplies on offer from single sheets of 12x12 to paper pads to 12x12 kits. I've never subscribed to a regular kit from a company and I often wondered if I was missing out. Then earlier this year I discovered Echo Park's  12x12 Collection Kits and now I use these all the time. They quickly became the staple supply in my stash. I love them!!

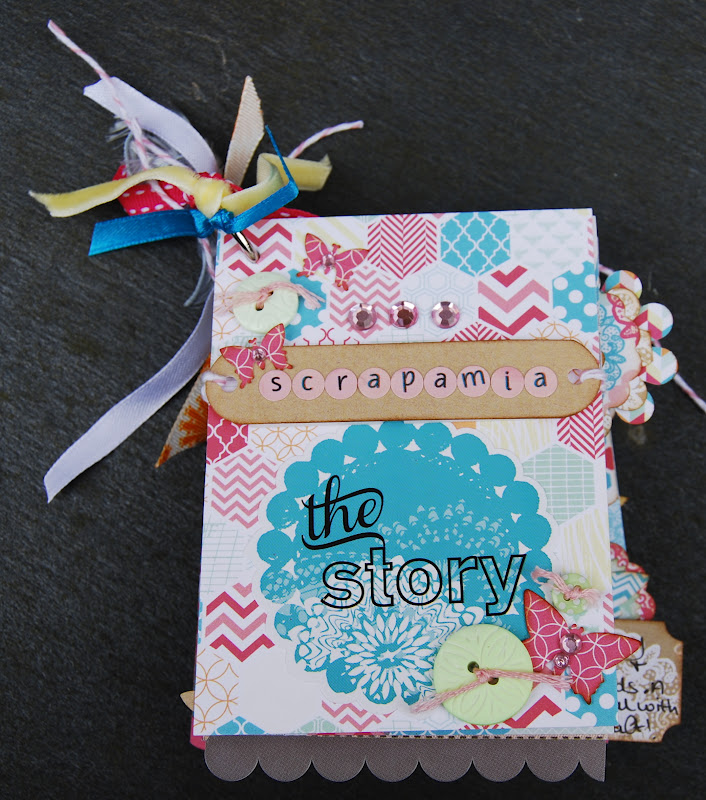
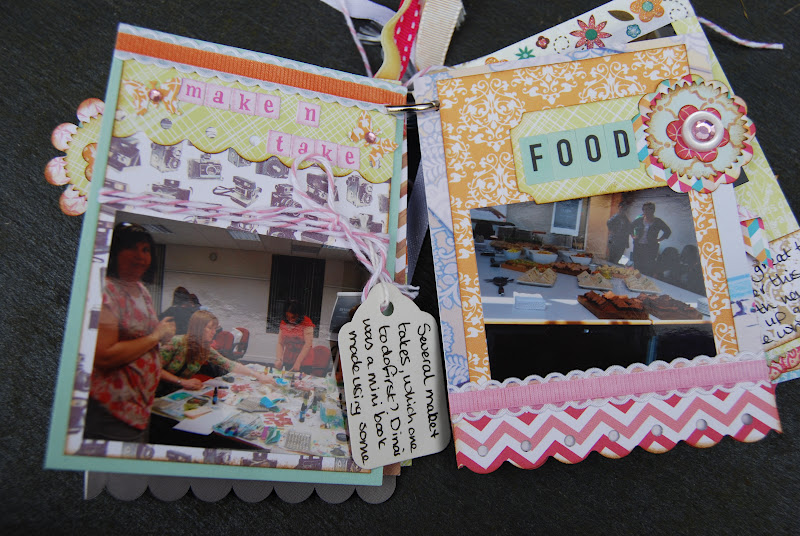
I've used a few of these kits for lots of different projects like this mini book using the This and That Charming range and Interactive Layouts using the Note to Self Range. 

This week I'm going to show you just how far one of these kits will go and how you can make different layouts using just one kit!

In most of the Echo Park kits you get:
12 double sided patterned 12" x 12" papers. Amongst the patterns is a journaling and border sheet.
1 sticker sheet - the sheet is 12" x 12" and crammed with loads of stickers.
1 alphabet sheet - again the sheet is 12" x 12" and usually has 
a large alpha and number set and two smaller alpha sets.


 Echo Park ~ For the Record 2 ~ Documented Collection Kit *New*

Using this For the Record 2 Documented kit I have taken it's name quite literally.
 I planned to create five layouts where the story was the main focus.

 I tried to use the kit and the kit only. I tried really hard .... but I have used my sewing machine on each layout and I did add the odd little item here and there. 
Throughout the week, after each layout I've listed any extras that weren't in the kit. 

So, you ready? .... let's look at the first layout ....


I don't just like pigs...I love them

Each layout started out with a story and in this one you can see that I included the journaling on the layout before anything else was added.

For those of you that don't know me I have three boys, earlier this year I asked them to write down some things about themselves. S took himself off away from the other two and wrote down some of the funnest things. Obviously they had to be recorded in a layout.


I worked out where the photo would go and journalled in the space around it.
Then added my papers, embellishments, photo, title and stitching.

  
 I love how he spelt "finc" (think) and "bootafall" (beautiful)! 


 The photo was layered onto an envelope so that his original writing could be kept safe inside.

What did I use that wasn't in the kit? ... only a circle stamp and the 2012 number stickers!!

I hope you'll pop back for my second layout tomorrow!

Thursday 20 September 2012

Monthly Challenge No 9 (Sept/Oct)

Thank you to everyone who entered last month, so lovely to see more scrapbookers participating!

On to our new challenge ...
Our theme this month is:

School &/Or Learning!!

And the (optional) extra is back ....include scallops somewhere on your project!!


A few ideas to start you off : scrap those "Back to school" photos or if your child started school or nursery record the specila day, You could scrap an old school photo of yourself .... what did school mean to you?Learning - scrap about baby learning to crawl or walk, to feed themselves or a toddler learning to dress themselves and do up buttons!! How about a layout about a child learning to skip or swim or another new skill....or maybe you have learnt something new.
Ideas for cards ... "Good Luck at your new school", Wise owls or an image of a character learning a new skill!!


Closing date for entries is: 17th October at 1pm

One random winner will win a beautiful selection of buttons and ribbons! Don't forget to check back to see if you are our lucky winner or you are chosen for our favourite 3 entries!!!

Please remember to check out the monthly challenge rules on the tab at the top of this blog, before entering. A quick reminder of our main rules:

Please link directly to your post & not a general link to your blog. 
You must mention and include a link back to the challenge in your entry post. No back linking please - new work only.
The winner must contact me by e mail to receive their prize. A few of our favourites will also be selected to be featured on this blog!
The final (& most important rule) is to have fun!!

As usual there is some wonderful inspiration from our Design Team!

Please do click on their name to visit their blog and leave them a comment ... I know they'd love you to pop by!


Jenny - School Letters Box


Jenny - "I've made a box to hold all those school letters that I always manage to misplace just when i need them. I've used some old MME 12 x 12 papers, Fiskers punch for the added extra of scallops and the scrabble tiles have been embossed with clear embossing powder using a versamark ink pad.
More pictures and details here!


Louise - Guitar Lessons Layout


Louise - " My youngest son is the only one who has shown an interest in playing the guitar. My husband loves the guitar and where he failed to be the next Jimmy Hendrix he's hoping his son will succeed! Using left over scraps and stickers from Echo Park Note To Self Kit.


Sarah - "5 Years On" Layout


Sarah - "I wanted to create a layout showing how my daughter has changed in 5 years from when she first started school. I used a mix of Fancy Pants Childish Things and Echo Park Note to Self.


Lisa-Jane - BLW Layout


Lisa-Jane - "BLW stands for Baby Led Weaning which we did with both children.  Instead of spoon feeding tghem pureed food, baby learns to feed themselves solid food from 6 months.  Its really messy but loads of fun and they learn a lot from playing with the food and throwing it about!


Papers are from an Echo Park A Boys Life 6x6 pad


Jennifer - "Dream Big" layout


A layout about my daughter's very first day at school. I've used a variety of products, including Mr Huey Calico White Mist, a Crate Paper Little Bo Peep Sticker, and the Dear Lizzy Date Stamp

We look forward to seeing your "SCHOOL and LEARNING" Projects!!
Please remember to link directly to your blog post and to include a link back to the challenge.

Good Luck and Have Fun!!


Thursday 30 August 2012

New My Minds Eye Collections!!

This week we've taken delivery of some gorgeous new goodies from My Minds Eye!

I'm loving these 6" X 6" Paper Pads from the The Sweetest Thing Collection - there are four to choose from: Honey, Lavender, Tangerine and Bluebell.


               My Minds Eye ~ The Sweetest Thing ~ Honey 6 x 6 Paper Pad *New*          My Minds Eye ~ The Sweetest Thing ~ Lavender 6 x 6 Paper Pad *New*
               My Minds Eye ~ The Sweetest Thing ~ Tangerine 6 x 6 Paper Pad *New*          My Minds Eye ~ The Sweetest Thing ~ Bluebell 6 x 6 Paper Pad *New* 


Rhonna Farrer has designed the gorgeous All Things Bright Collection


     My Minds Eye ~ All Is Bright ~ 6 x 6 Paper Pad *New*     My Minds Eye ~ All Is Bright ~ Decorative Brads *New*     My Minds Eye ~ All Is Bright ~ Decorative Tape *New*

We have the Collection Kits, 6" X 6" Pads and matching accessories.


Monday 27 August 2012

6 x 6 Celebration - Part 3

Hello .... and welcome to the 3rd and final part of my celebration of love for 6x6 paper pads ... I did mention I love them didn't I? ... Yes I thought so!!

Today's project is a cute little mini book project. I wasn't sure what size of book I was going to make until I saw this one by Jen Gallacher.  I used the cut-apart journalling cards from the 12 x 12 sheet in the Everyday Eclectic collection kit as the base and added in some more pages by cutting a few of the 6x6 designs down.  These double sided papers are ideal for mini books and the quality means they are pretty sturdy too.


I used lots of punched shapes throughout the book and I also used up lots of odds and ends from my stash such as sticky ribbons and buttons.


This minibook is about a scrapbooking retreat I went to last year and contains some of my favourite photos from the weekend.


This book is a lasting memory of some of the classes I attended and the projects I made!


I used up lots of odd gems, stickers and brads in the book too - mini books are great stash busters.


I used several different coloured mini-alphabets too similar to these.
  These teeny letters are great to use with mini books and as subtitles or for long titles etc.


I like being able to hang bits off the edges of the pages and make it really eclectic.  Try to mirror facing pages with matching off the page elements to keep continuity through your book.


I used pop dotstwine and lots of ribbons for added interest and texture.


I made a little pocket on the inside of the back page to hold the photos that I wasn't so keen on but still told part of the story.


The back page is made of strips of the different papers which looks great with the strips of different ribbons on the single book ring. Also a great way to use up all those scraps and off cuts!


Here are some close ups so you can really see how perfectly the smaller scale on the 6x6 pads works for these little projects.  Lots of lovely layered circular embellishments again and some on trend pennants.


A layered rosette for some dimension which are so easy to make from 6 x 6 papers.


Punched borders work really well on mini books and again the smaller scale makes it easy on the eye.


Little windmills are another embellishment that work so well with 6 x 6 papers - the miniaturised patterns and double sided designs are just perfect.


Mini punched butterflies make the most of every single tiny scrap of the papers and work so well with the denser patterns.  


Layering up different shaped embellishments really gives a sense of dimension without creating too much height in this kind of project.  The other fab thing about the 6x6 papers is that you can run a sheet through your die-cutting machine without having to cut it down to fit - saving time and less waste!!


I hope you can see why I love the versatility of the 6x6 paper pads and I hope that you have enjoyed this little series and seen a few ideas for using your own pads.  
If you have been inspired by anything you've seen in this post, the first part or in Part 2 then we'd love to come and see!

Want to win a prize????  
Well, all you have to do is leave a comment on any of the "6 x 6 Celebration" posts with a link to your own 6 x 6 project and  link up to the S J Crafts blog from your blog post and you'll be entered to win!

Our favourite project will be chosen to win a little prize!!

Your blog post must be dated on or after 24 August (ie the start of this series!)

Closing date for entry is Sunday 16th September!!  Good Luck!!

Lisa-Jane
x