Hello and a very Happy Bank Holiday Monday to you!!
Remember a couple of weeks ago Lisa-Jane shared her current love for die cutting ... if you missed it it's right here!!
I'm here today to share one of my current favourite techniques
with you ...
Scattering!!
Regular readers of my blog will already know how much I like to scatter gems or sequins on my layout,
but here I'm going to show you how I also applied the 'scatter' mindset to other
aspects of this layout.

I wanted this page to be particularly scattered - as bits of these cakes got scattered all around my house while the kids wandered around eating them - I hadn't put enough chocolate on and they were super crumbly!
I started with a
piece of paper from the DIY shop collection pack, and splattered some Mister Huey Pretty Pink mist droplets over it, keeping
the drops more concentrated near the centre of the page.

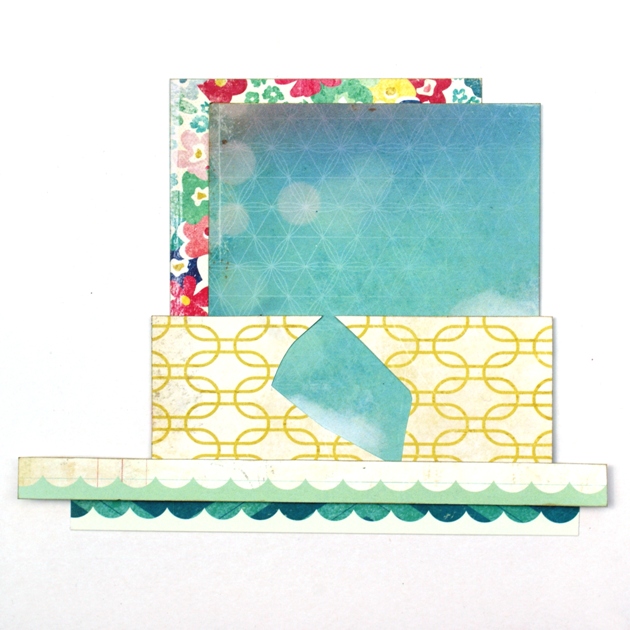
Then I built up a
photo mat, using scraps from the DIY Shop collection pack and the Maggie Holmes collection pack. Normally I'd layer a
photo mat more like a frame, so the edges would be seen evenly all around the
photo. But to make it look more scattered I piled them up so they stuck out a
different amount each side. You can see that one scrap had a hole in it, but I knew that would not matter as it would be covered by
my photo!!
When I stuck the
photo mat onto the layout I only adhered it in the middle, so that I could tuck
things in at the edges if I wanted to. My photo was stuck on with 3D foam pads to give some extra dimension.
I then chose a
couple of journaling spots, and a date sticker, and scattered them about so the
journaling wouldn't be all in one place.

Now comes the fun
part - choosing an ecclectic mix of other items to scatter about! I used a mix of
stickers and die-cuts from DIY Shop and Maggie Holmes plus some
Studio Calico Wood Veneer Tiny Stars (painted pink) and Cameras (painted light blue), some sequins and
gems.

And I started to
scatter them all over the page! I left the gems until last, as they are harder
to move about (although usually possible if you do it quick). All the other bits
were stuck on with Ranger's Glossy Accents, except for the 'fun day' and 'yes, please'
sentiments which were adhered with foam dots, once I was happy with their
position.
I also made the
title look "scattered" by off-setting the letters in 'cakes':

If you don't want
to scatter things all over a layout, you could just confine them to a journaling
spot or embellishment - like I've done here on the speech bubble cut from some
DIY Shop paper.

Keeping the
scattered elements close to to a larger element like your photo stops them
getting lost on the page.

And having some items tucked under each other (like the flower and date sticker shown below) and some completely separate (like the 'yes, please' sticker) also helps to make things look more random.

So you end up with a lively, scatter-filled page!!
I hope you've enjoyed an insight into my scatter-love! If you try it out please let me know!
Jennifer x
7 comments :
Oh that's a fabulous idea for layouts - thanks for sharing!
Just love this page....gorgeous colours....great layering....and the 'scattering' just makes it. Brilliant.
Fab page! Gorgeous elements.
From one Jennfier to another Jennifer...! That is lovely and bright... I like your technique! jenx
Jennifer even not Jennfier lol!
How fabulous Jennifer - All the scattering looks like an explosion of colour. Love it x
I love the variety in the scatter on this layout.
Post a Comment