Thursday 15 May 2014

Undivided Attention Part 3

Hi there, its Lisa-Jane here with the final part of the series where we embrace using pocket based products for non pocket projects.  Now try saying that fast....

If you missed them, you can catchup on part 1 here and part 2 here!

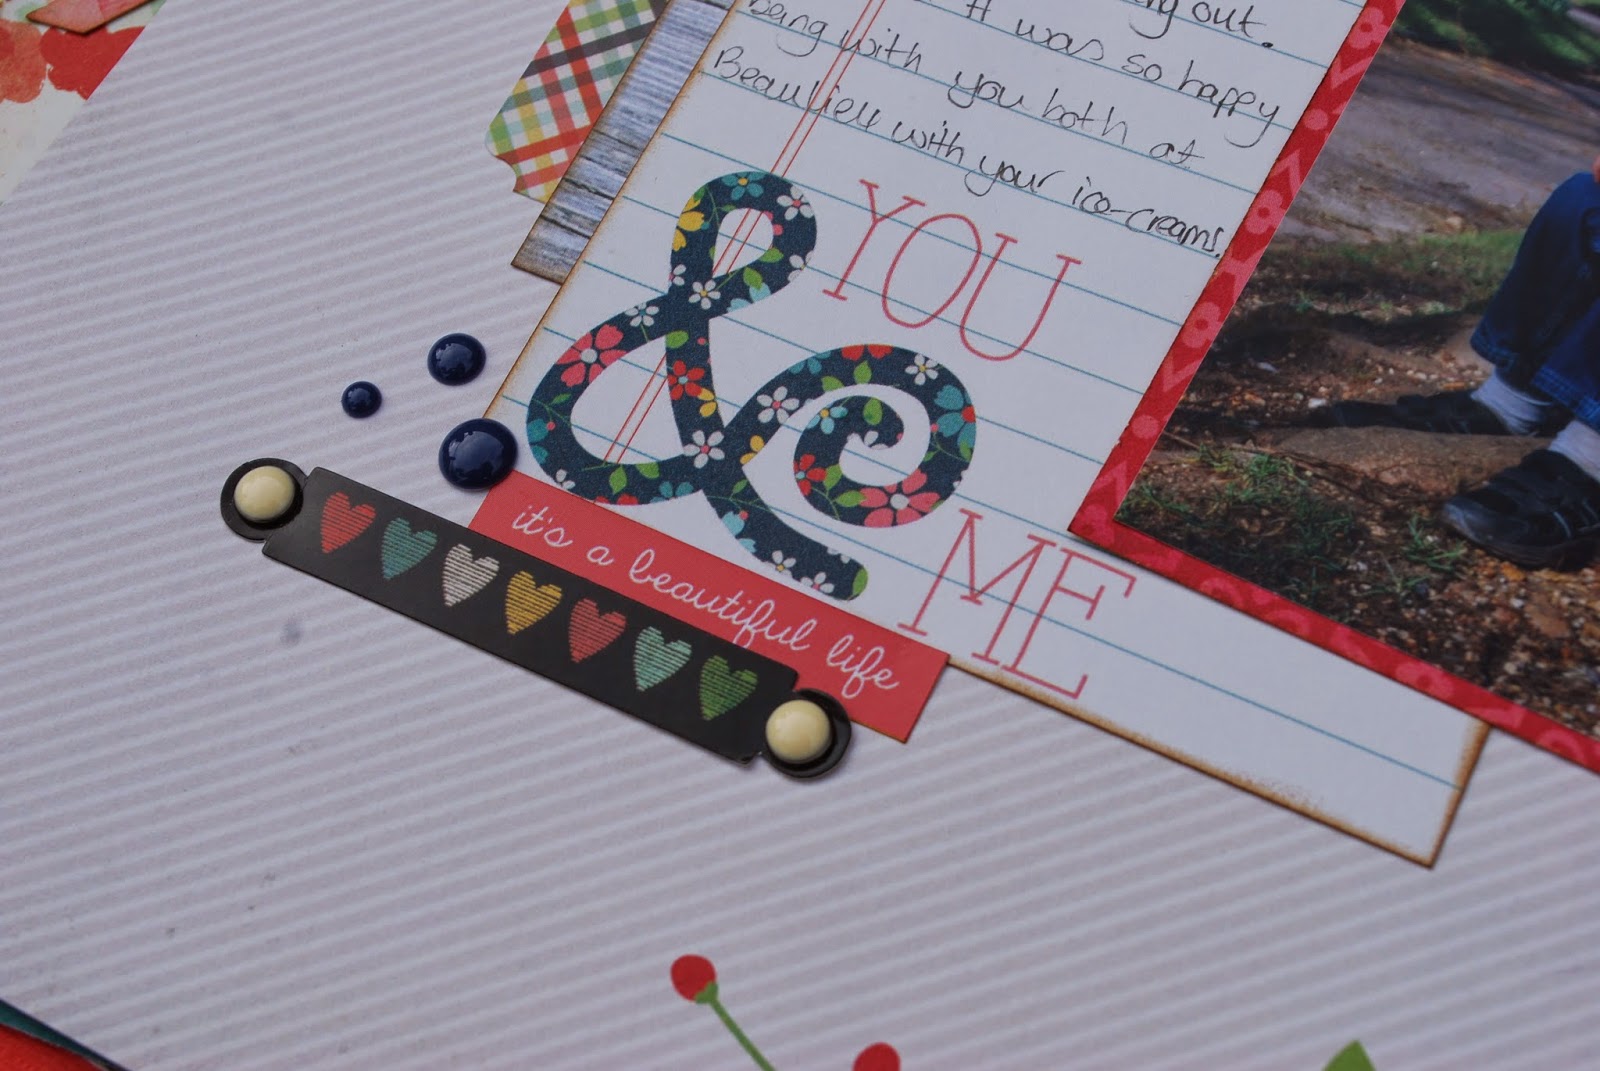
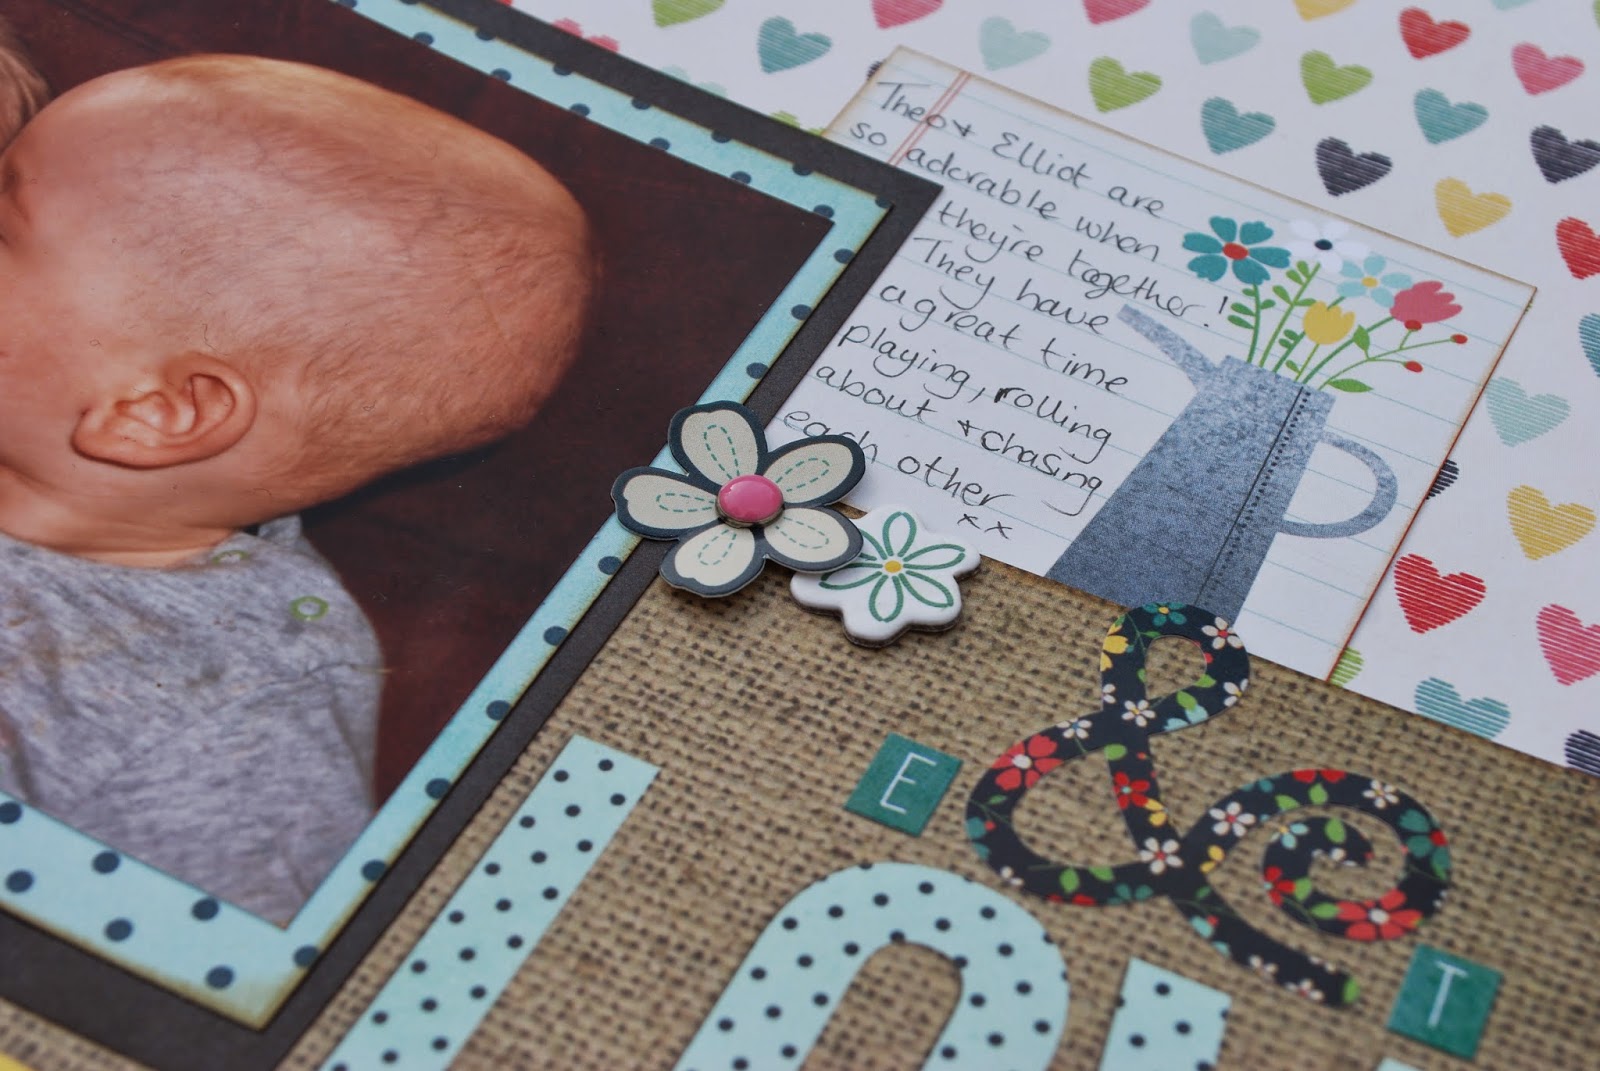
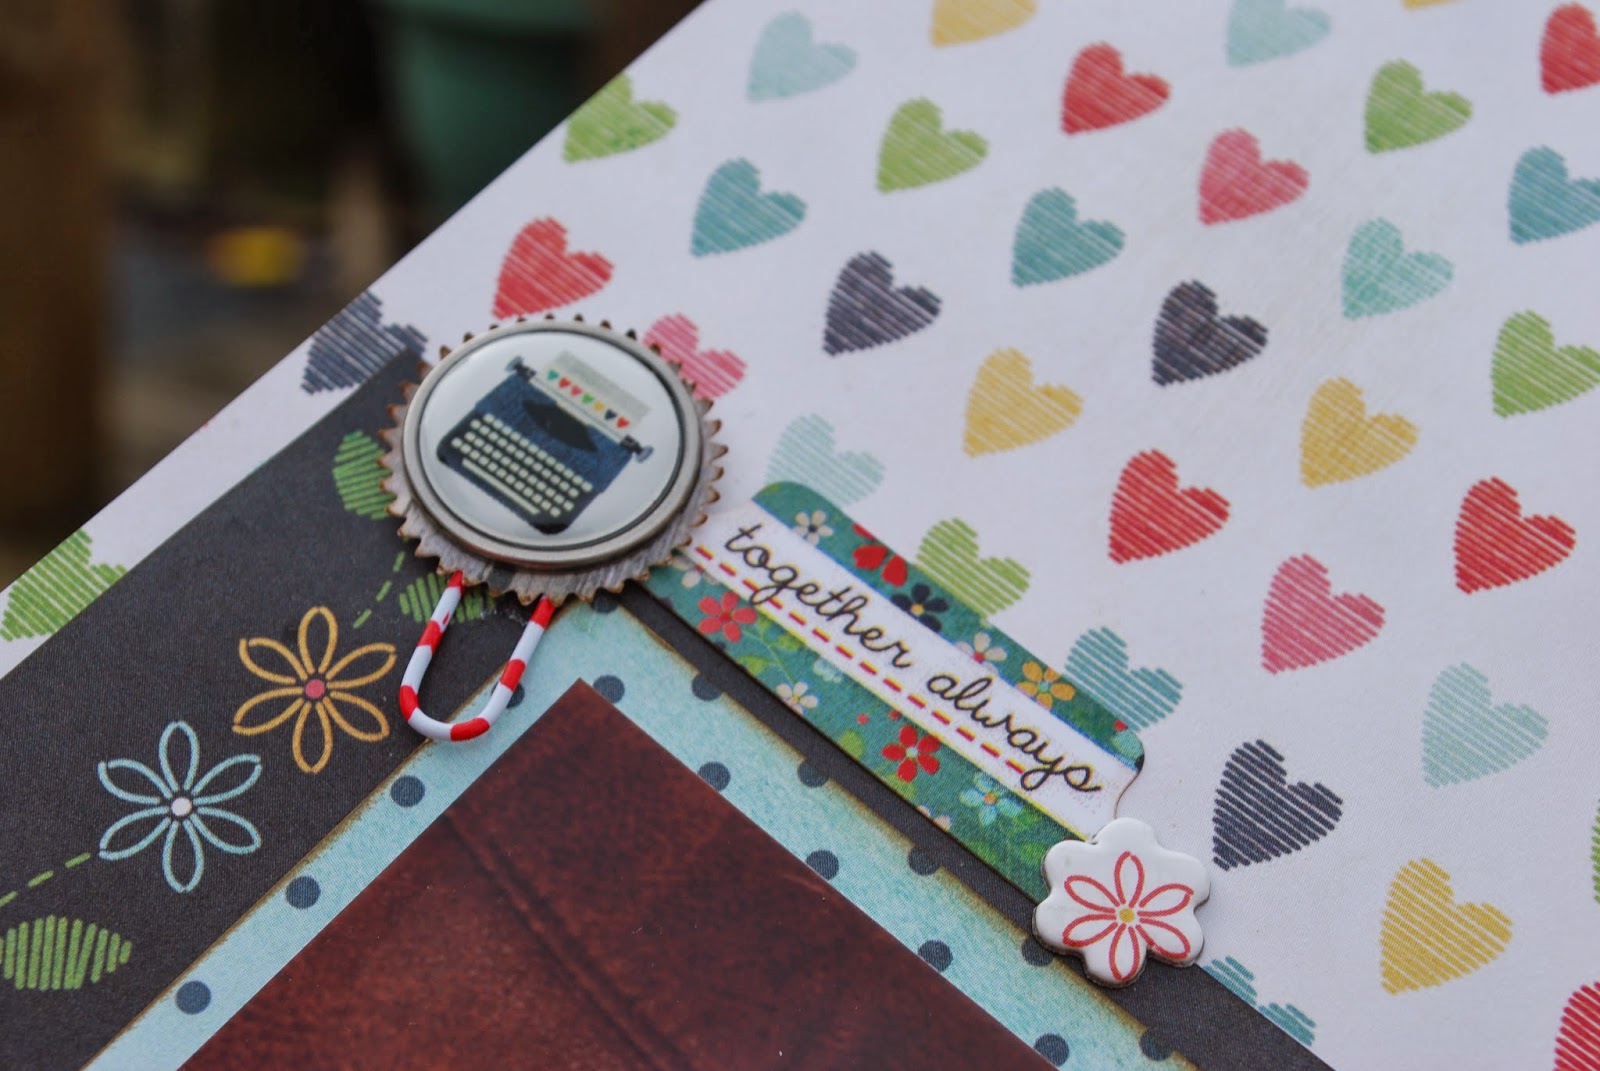
I'm using Simple Stories Homespun collection for today's projects!

First up today, I want to show you a home decor project.  The sentiments on this 6x4 card really struck a chord with me as things I need to remember so I decided to make it into something to go on the wall in our (hopefully) new home.  I simply rounded the corners and mounted it onto some red patterned paper from the collection and then mounted it again onto one of the larger 8x6 cards.  I added a couple of stickers to the corners and then put it inside the frame.


I wanted to add some more detail but I didn't want to cover up any of the wording and I didn't have a frame big enough for a larger insert so to get round this ....


I simply added a pretty sticker to the top corner of the outside of the frame and some chipboard and a piece of banner strip opposite to give a bit more interest.


I'm looking forward to abiding by these rules and seeing it on the wall of our new home.  With that in mind, I came up with this final little project to help contain the stress of the house move.


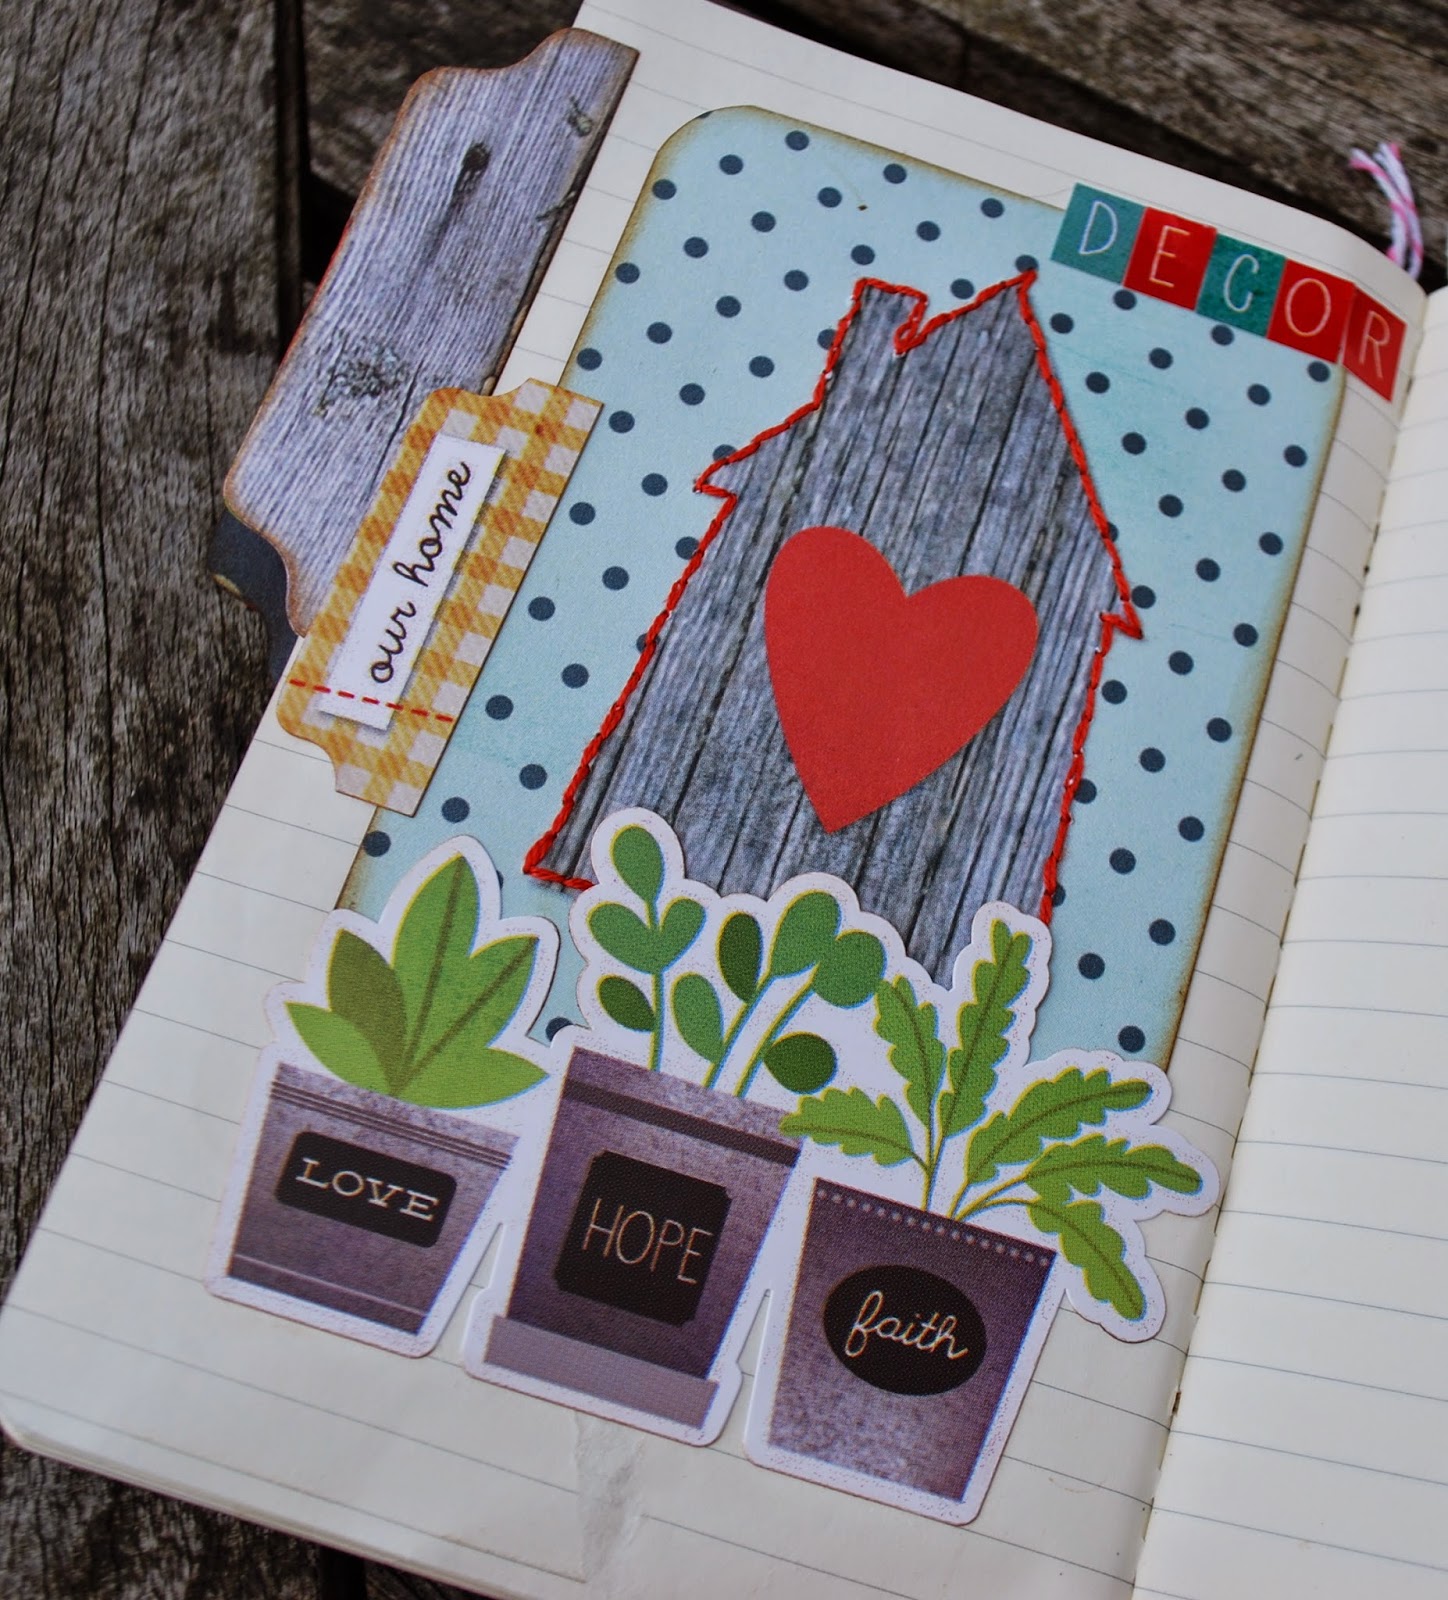
At a recent retreat I went on, one of the girls gave us all a little Moleskin notebook.  I love anything kraft coloured that I can alter and the bits and pieces I had left in the Homespun kit were very home themed.  I decided to make a little book to served as a reminder of what is actually important about your house and also to help me keep track of information and ideas for our potential new home.


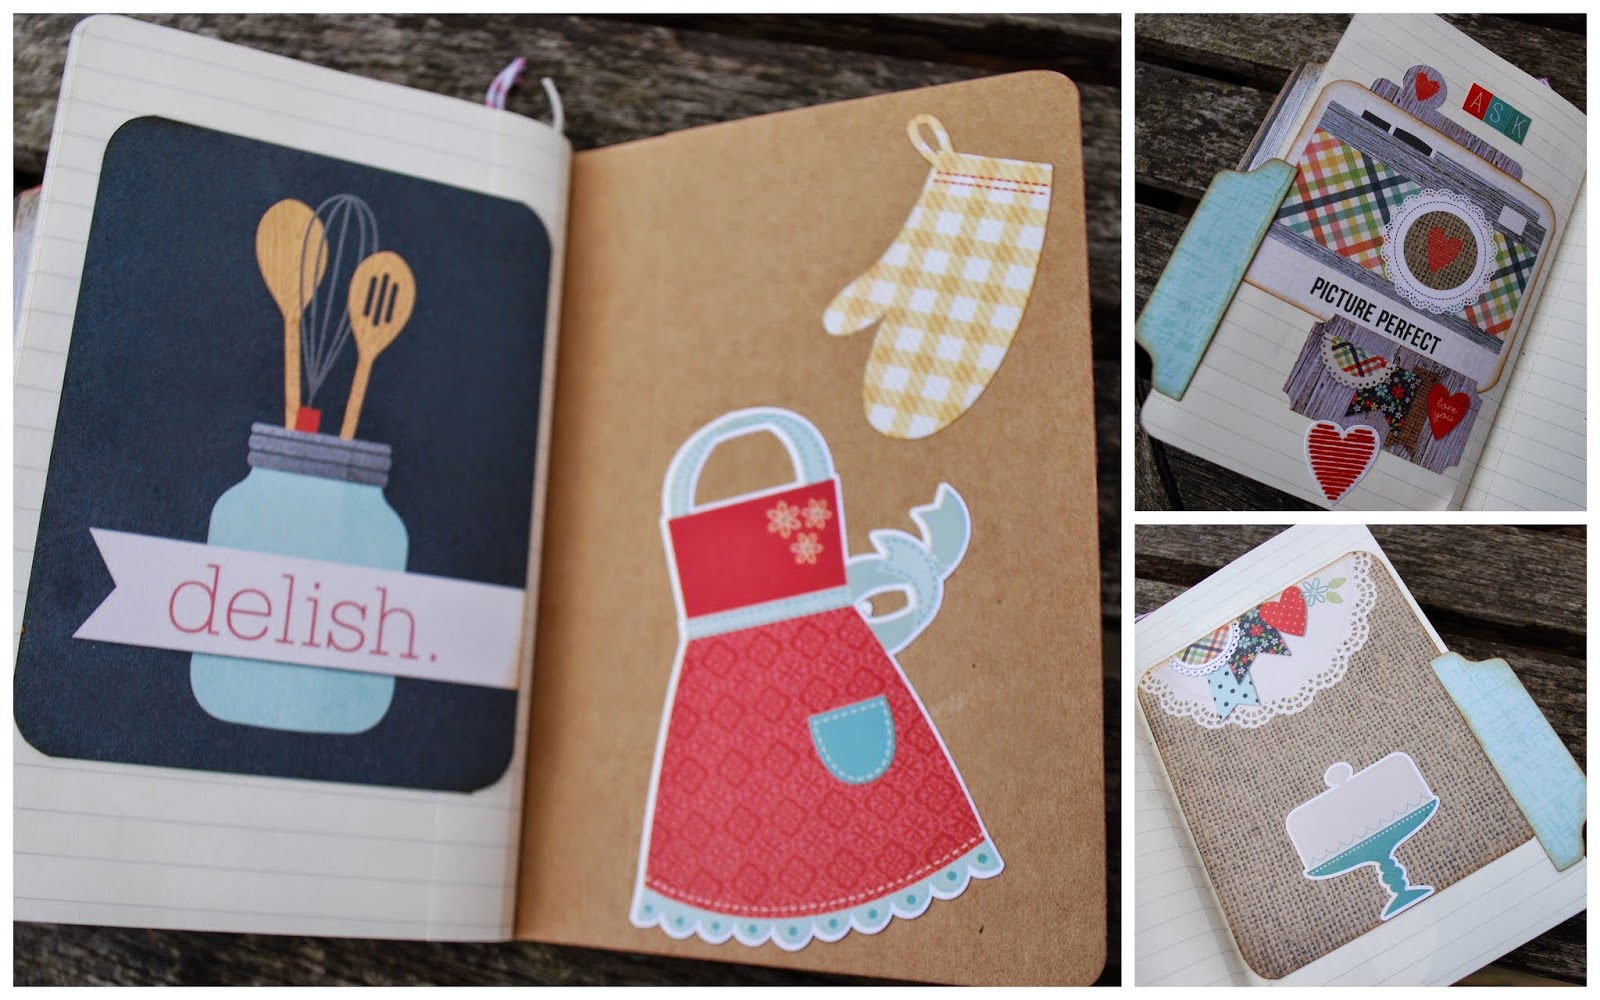
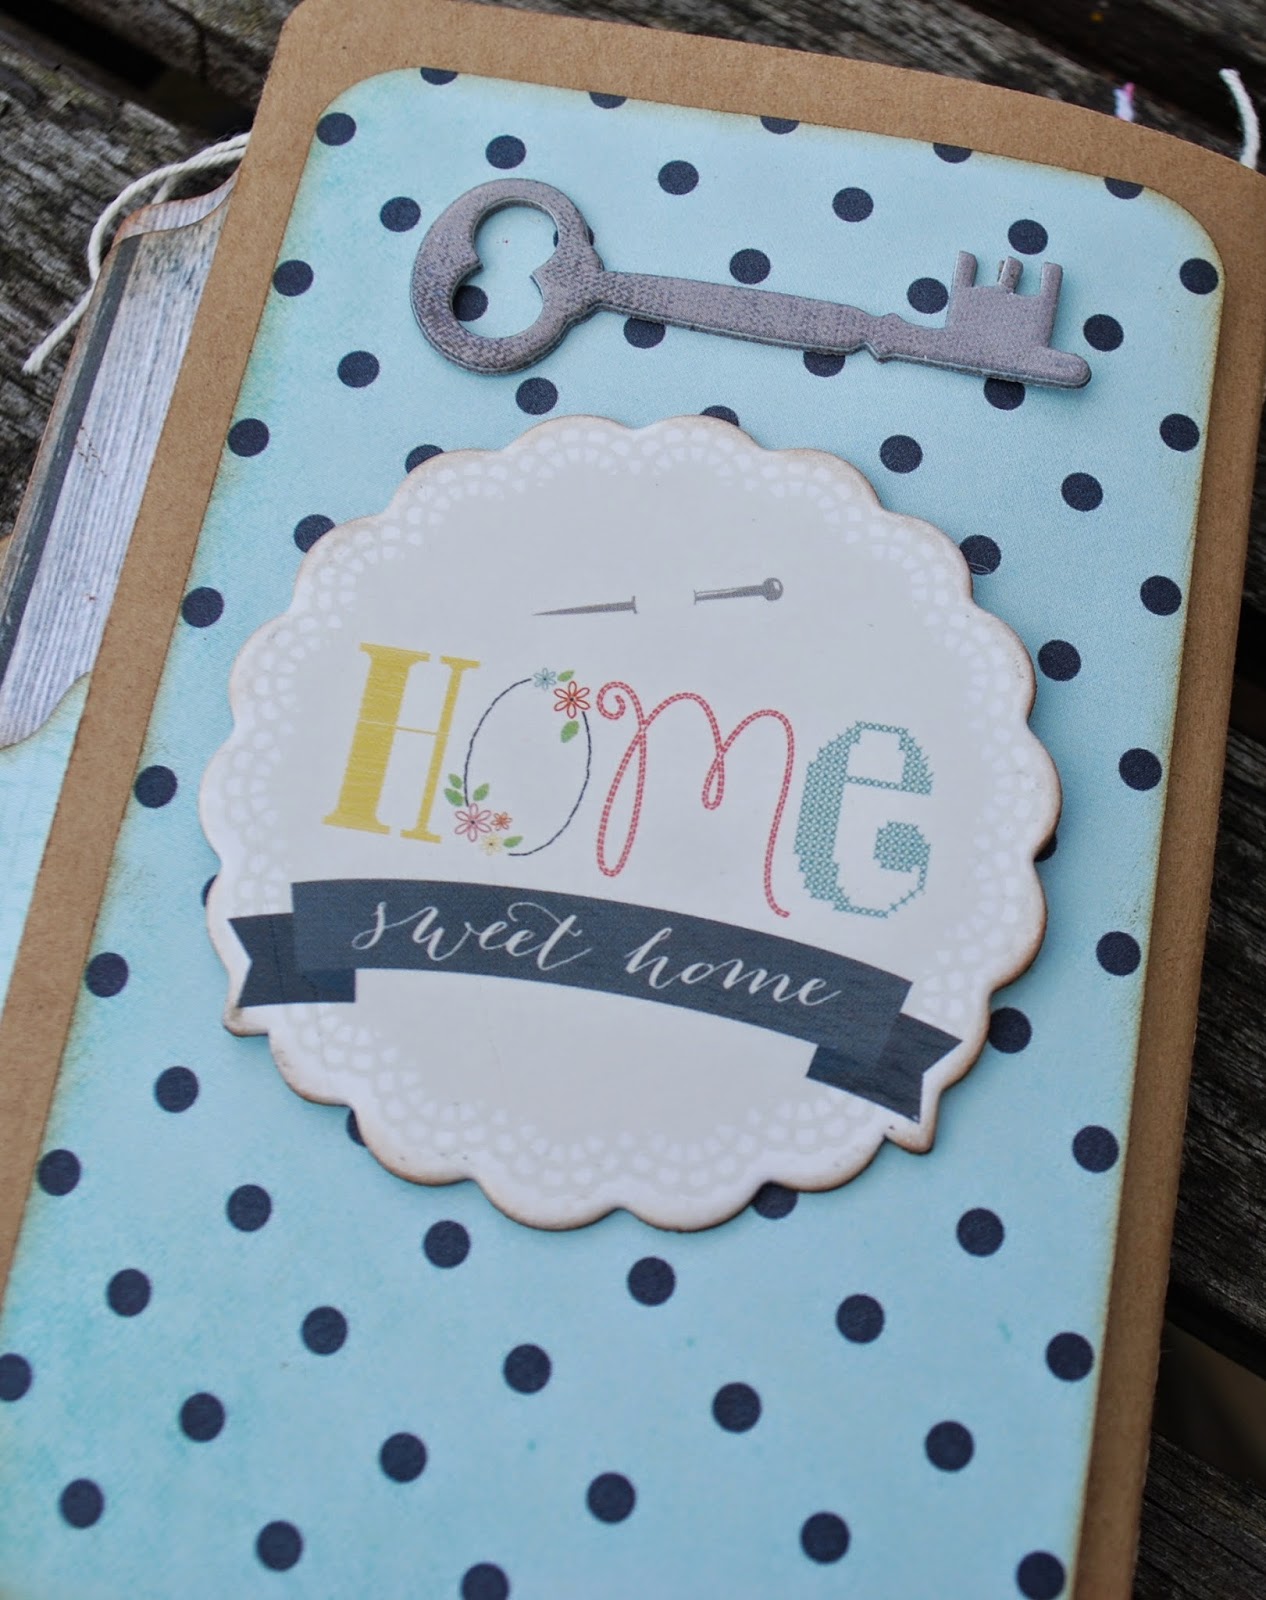
I decorated the front with one of the 6x4 cards and some brads and chipboard from the collection.  I needed to keep the inside decoration quite flat to avoid the pages getting too chunky so inside I stuck to using the 6x4 cards and stickers.  


I created tabs using a die on the 2x12 strips and then decorated both the front and back of each dividing page.  I will write on the tabs in a black journalling pen to make them easy to find too for now I used the alpha stickers to indicate each section.  How perfect is that telephone sticker for the contacts page?!


Sometimes I added a bit of washi tape or a punched border from another 2x12 section and sometimes I just rounded the corners or added a sticker.  As always, I inked the edges using Vintage Photo Distress Ink.  My daughter made Sarah laugh the other day when she demanded to use my blending tool on something she was making because she always inks her edges too!


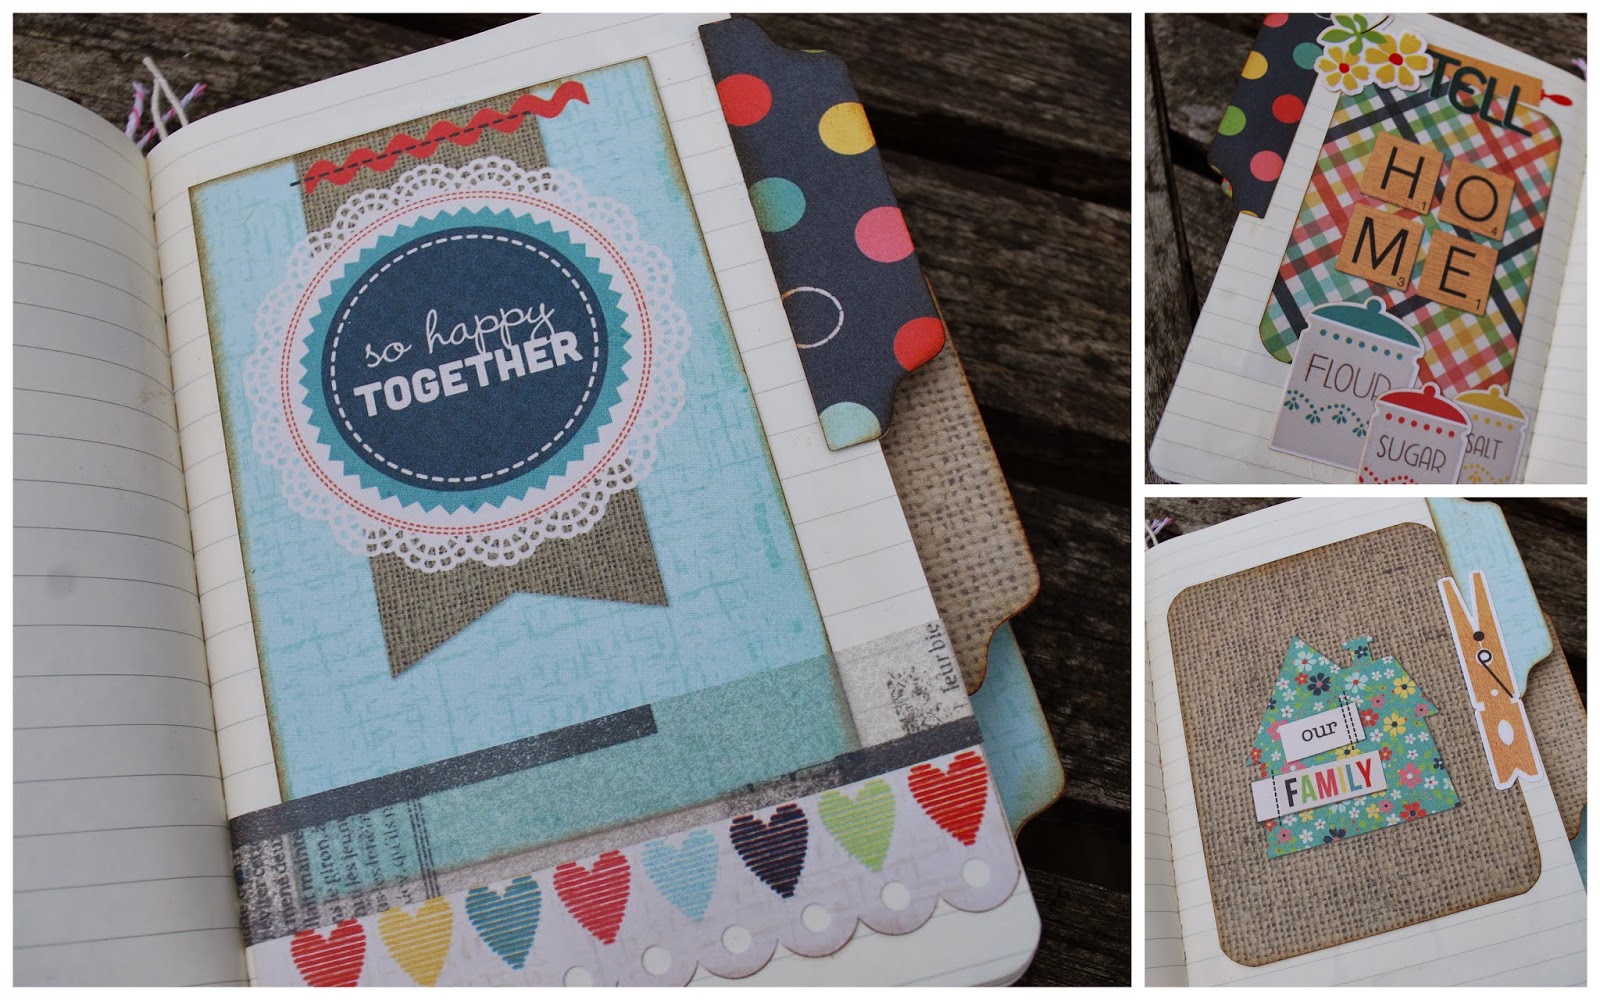
Some of the images on the collection are ideal for adding a bit of stitching.  This suits the theme really well and adds texture without increasing the dimension too much.


I used up a few more stickers on the back pages too - this was a great use for those pieces that I would find hard to use on scrapbook pages.


 I used a final card and 2 perfect pieces of chipboard on the back cover to complete my little notebook.  I will probably need to add a bit more adhesive to these pieces as the book will be in my handbag but otherwise most of the bits are contained within the book itself so it should be fine.


Hopefully it will help to make things a little bit less stressful but we shall see!  I really enjoyed making it and trying to keep in mind that you make your house your home by what you do inside it and the people you live with and that it will all be worth it in the end.

So, what do you think?  Lots of layouts, a framed piece and an altered notebook and not a pocket page protector in sight.  Do you still think you can only use these types of products if you do pocket scrapping or have these projects made you think outside the pocket a bit?  I hope so because I wouldn't want to miss out on some of the beautiful designs like this and I wouldn't want you to either.  
Happy scrapping!

Bye for now
Lisa-Jane xx

Simple Stories Products (including the Homespun Collection) is available in the S J Crafts Shop here: http://www.sjpapercrafts.co.uk/simple-stories-364-c.asp

Lisa-Jane blogs about her scrapbooking, family and life on her blog : Inside My Head


Tuesday 13 May 2014

April Challenge Favourites and A Winner!

Hello everyone! Jennifer here to show you a few of our favourites from the April Mood Board Challenge entries... and to tell you the winner of the prize too of course!

Thank you so much to everyone who entered, there were so many beautiful pages that have been giving us lots of ideas, and showing us how many different ways the mood board could be interpreted! You guys rock!

At the end of the post I'll tell you the randomly picked winner, but now here are our favourites...


Trina uploaded her layout to our Facebook Page, it captures the springtime spirit of the moodboard so well with beautiful pinks and greens, flowers and butterflies!


Marie put the March Kit to great use on her layout, we love the different textures she's created!


Laura incorporated lots of ideas from the moodboard, including the composition and the glitter stripes! 

And the winner of the Spring Themed Prize is...

That's Laura! Congratulations Laura! Please contact us at sarah(at)sjpapercrafts(dot)co(dot)uk so we can get your prize out to you!

Thank you again to everyone who entered. The May Challenge is Bingo! You have until the 31st of May to enter, and there will be another mystery prize to one winner!

Bye for now, Jennifer x

Saturday 10 May 2014

A "Grid" Layout with Hello Sunshine

Recently I ran a workshop at the Wilton Crop. 
We used the lovely Pink Paislee "Hello Sunshine" Papers and a selection of journal cards from Pink Paislee and Simple Stories with a focus on a grid design to create a quick layout for multiple photos.

Here's the layout and instructions should you wish to make a similar page.


Start off by "gutting" the sheet of "Hello Sunshine" paper and saving the middle piece for use on another layout. Of course, you can use a different patterned paper if you wish. Next, trim half an inch off two sides of the white cardstock so that there is a small border of stripes showing when the cardstock is adhered centrally on top of the paper.


Decide which 3" x 4" journal cards to use and crop the photos to size (if you've not already printed them to the size you want) and work out where they will all go in your grid design before starting to stick anything down. 

On my layout I had two rows of 4" high but the top row was only 3" high - this allows for a small border around the layout. You could put a 3" high row in the middle instead but it worked better for my photos and cards to have this arrangement.


You will see from the above photo that I opted to use a 6" x 4" photograph instead of two small photos or you could have 1 small photo and 1 journal card in that space instead. You can choose which ever arrangement suits your photos and the cards you wish to use.

Before sticking everything in place I rounded the corners using a Project Life Corner Rounder and also popped a doilie (cut in half) under the photos/cards each side to add some extra interest.


Add your title - this doesn't have to be in the top centre space - originally I was going to put it in the centre spot but then decided to swap it with the photo.

I chose the title "Whatever the Weather" as my layout is about how my daughter loves to go to the beach no matter what the weather is like .... even on chilly days she will go in the water and happily play on the beach.

I will add some handwritten journalling to that card with the umbrellas and rainbows on over on the right hand side before putting it away in my album.

All that is left to do is add some embellishments. I used some "Hello Sunshine" chipboard, Simple Stories DIY Boutique Brad, Studio Calico Wood heart and arrow and cut the black banner and little black arrow from scraps of paper using the Project Life Nesting die set.

Add embellishments on top of the doilies and overlapping the edge of the photos to help draw the eye towards your main photo(s)


If you do have a go at making a grid layout, please do leave a link in the comments so I can pop over and see or post your "grid" layout to the S J Crafts facebook Page.

Before I go ... don't forget there's FREE Postage and Packing over at the shop all this weekend when you spend £15 or more!! Offer ends 10am Monday 12 May!

Sarah x

Thursday 8 May 2014

Your Undivided Attention - Part 2

Hello, Lisa-Jane here again!

Welcome back for Part 2 of the series where I'm using Simple Stories Homespun collection, which includes lots of cards to cut apart and use in divided page protectors, to make standard layouts and more. If you missed Part One check it out HERE!

This lovely subtle 12x12 paper has little bits of printed embellishment that do lots of the hard work for you. I used several of the 6x4 cards here to create a messy stack without trying to make the pieces bigger and needing to cover joins and gaps. I made sure that each layer was a good contrast to the previous one and covered up any wording that wasn't relevant etc, so aside from the journaling block the pieces act just like sections of patterned paper and not specific 6x4 cards for 6x4 pockets:


Sometimes the sentiments on the cards go right to the edge like with this journaling block which was fine for my purposes but often there is just a some wording or a printed element that can easily be disguised if it doesn't fit your theme. My title was from the chipboard elements and I added some stickers and brads from the collection, a little doily from my stash and some gorgeous enamel dots and that was all it needed:


This next layout is another example of using the larger panels in their original form and incorporating it as part of the title. This time I added an ampersand and a couple of alpha stickers to add more meaning:


I used the long ruler sticker as a border strip and the little chipboard "Let's Stick Together" was absolutely perfect for this page about my 2 great nephews. In the Homespun collection there are bigger sections as well as the 3x4 and 4x6 cards and I used these to layer up the photograph here. 

There was a cute little border on one which was ideal to use leaving it showing even though the rest of the piece is hidden. It would also have been a great place to add some stitching over the printed stitching if you like that look. If you look for colours and patterns that you want to use instead of looking at the cards as they stand alone, then you can get a lot more versatility out of them!


I punched another pinked circle from a scrap card and added it to a paperclip with a coordinating brad. With the colourful heart paper as a background it didn't need a great deal more than a couple of items from the stickers and chipboard sheets:


Some branding strips and offcuts from other cards that were tucked behind other elements, a couple more stickers and pop dots and we have a fun and cheerful page about 2 funny little chaps.


I hope you've enjoyed these ideas for using the various sections in pieces and as whole elements and there is still not a divided page protector in sight!  

I'll see you soon for the final part of the series for a couple of "off the page" projects.

If you want to get hold of some Simple Stories items in the meantime then check out the selection at SJ Crafts HERE!

Lisa-Jane x

Lisa-Jane regularly allows us a glimpse into her life and her craft room over at her fun blog Inside My Head. Go pay her a visit!