Hi everyone, Annie here!
Like most scrappers, I love patterned papers and I have piles of the stuff. I can't get enough of it! It's beautiful just as it is, but it's also fun to tweak it a bit to add interest, or to suit a particular project.
Today I'd like to share a few ideas for altering patterned papers to take them one step further ...
This MME Lost & Found Record It! 6x6 paper pad is really gorgeous and so versatile - I've already used some of it to make a valentine for my DH and two pop-out birthday cards for a friend - but I have all of this left and I thought it would be perfect to experiment with.
Here are the results of my experiments with cutting sticking, punching, doodling, embossing, flocking, layering and eyeleting (if that isn't a word, then it should be!) ...
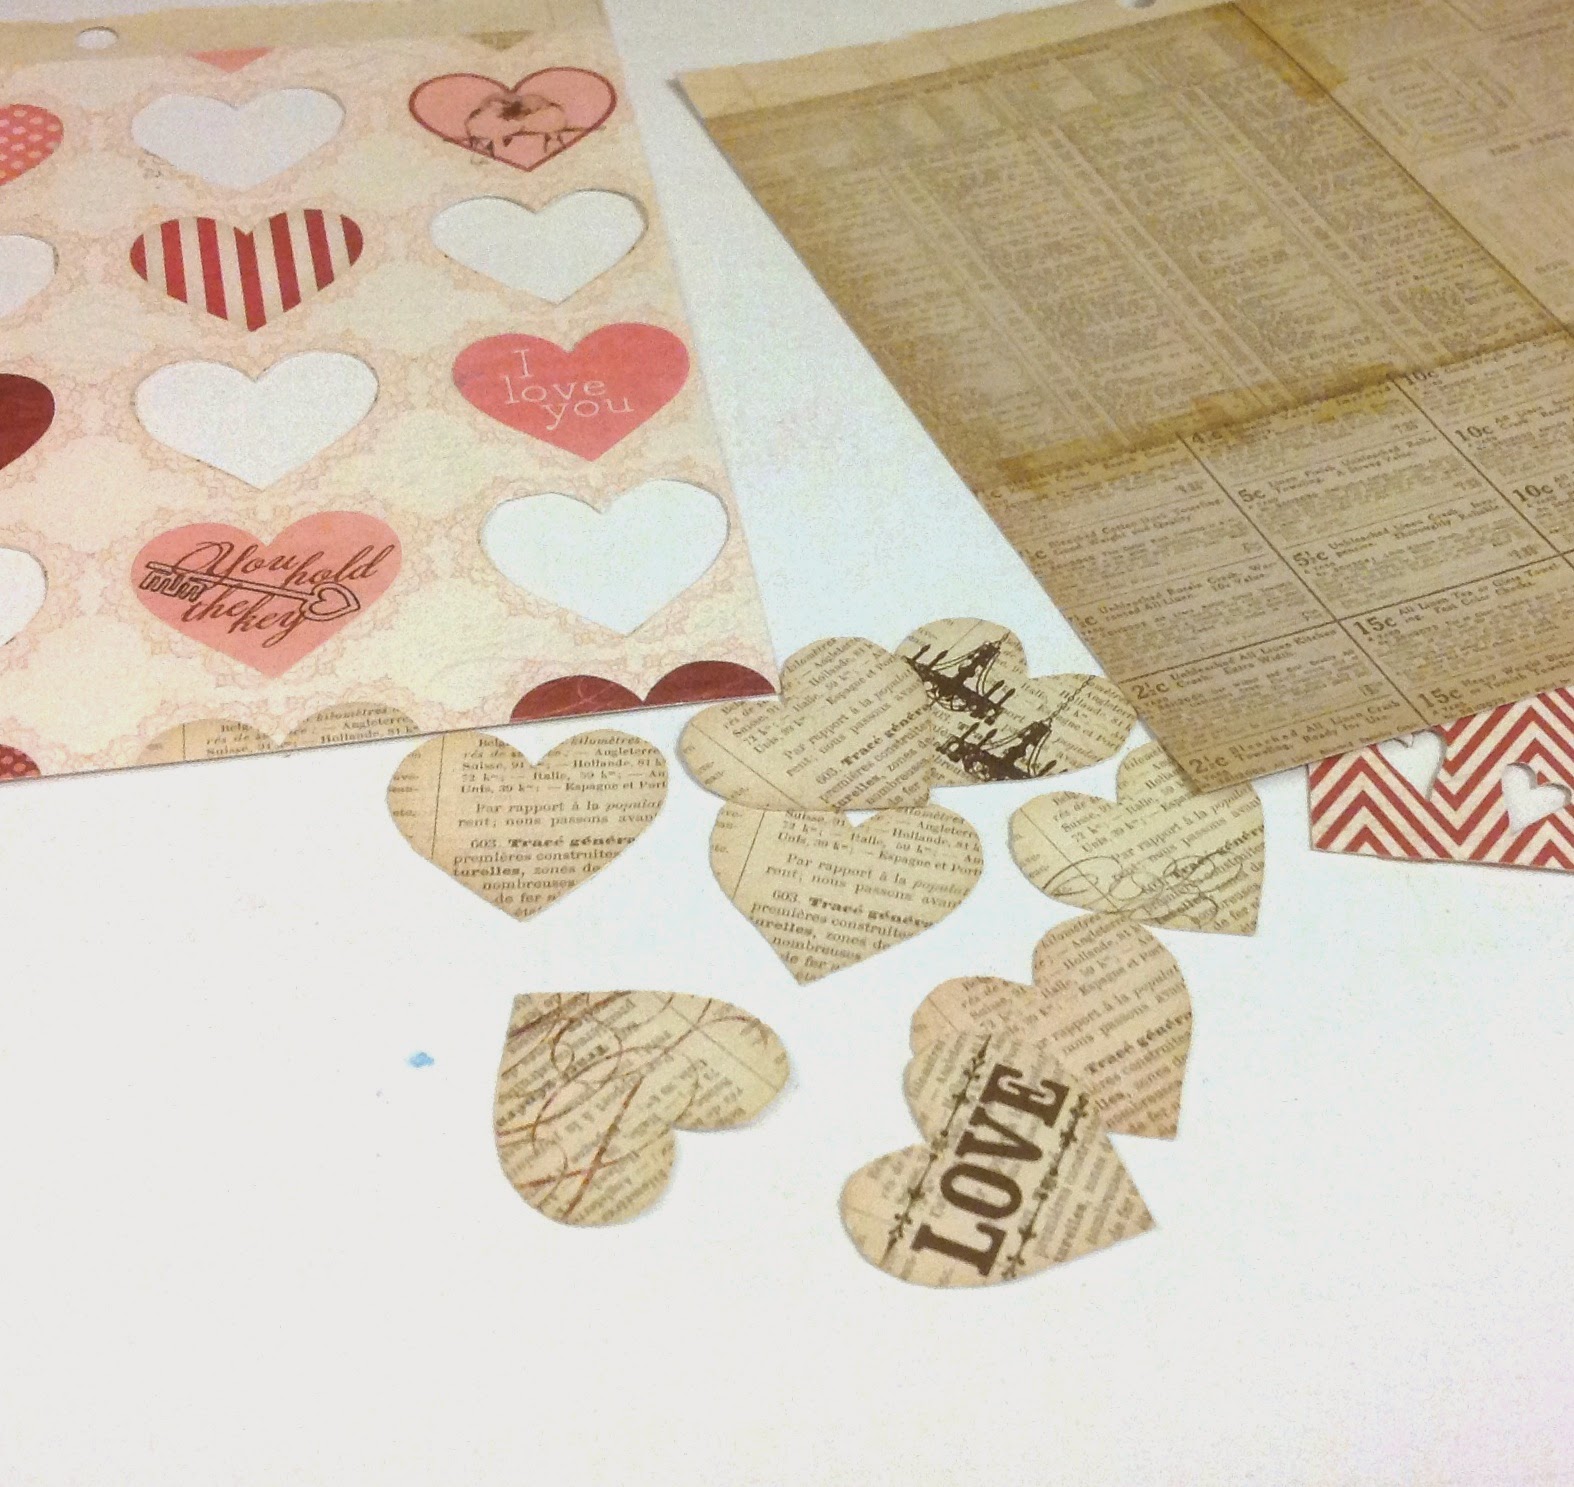
First I took the pretty heart pattern ...
... I cut a few of the hearts from another identical sheet, inked the edges with Distress Inks and adhered them with foam dots to add dimension ...
Then I took these three sheets ...
... I carefully cut out the bookprint hearts, inked the edges and adhered them to the bookprint paper to give extra interest and texture to the background ...
Layering the heart paper over the chevrons paper allowed the pattern to show through the cut-out heart shapes, and I doodled around them with a pencil to add some definition ...
Next, I dug out some eyelets (I can't be the only scrapper who has loads of these lingering in my drawers from years ago!) ...
... and had fun dotting them around to accentuate the spotty patterns ...
Out came my trusty heat gun next, and I used a pearlescent gold embossing powder to enhance some of the stripes ...
It works better with the extra-strong tape and I always burnish it with a bone-folder to make sure it's stuck and help the backing to come off more easily. Here's the result ...
Whilst I had the heat gun out, I did a bit more embossing, using a juicy Sakura pen to add handwriting and doodling to the bookprint background ...
... and then adding embossing powder in a deep shiny lipstick pink ...
I used a gold pen and more embossing to bring some fun textural detail to this lacy pattern ...
Finally, I broke out the flock and used it to create tactile accents ...
I tried a couple of different methods to make the flock stick, and this one seemed to work well. First, I filled in the parts I wanted to accent with the Sakura Glaze pen ...
... then sprinkled with the flock and left it to sit for a while until the pen had dried ...
... then, without shaking off the excess, I folded a sheet of copy paper around it and ran it through my Cuttlebug ...
... then brushed off the excess. This way, the shape stayed well defined and the flock was stuck fast, adding a nice tactile detail to the page ...
These little 6"x6" paper pads are so versatile and you can make them go a really long way. I used my "enhanced" papers to make a couple of scrapbook pages with very different looks ...
Watch:
For this page about my little great-nephew, I added in some chipboard stickers from the MME Chalk Studio Collection and a couple of scraps from the MME Chalk Studio 2 Collection, some Bazzill cardstock and black Prima Canvas Alphas.
I sanded the edges of all the chipboard pieces and used chalk inks to colour them - this is something I often do to make embellishments match my page.
I Love Us:
For this page showing a "double selfie" of me and my DH, I've used small pieces of my patterned paper to form a grid design. The camera is a Simple Stories Daily Grind chipboard sticker - I distressed it and added a button tied with twine to cover the heart motif which was the wrong colour for my page. There is also a cut-apart from the Teresa Collins Daily Stories Collection and I made a couple of embellies from the patterned paper scraps.
Well, after all this I still had loads left in my little paper pad, so I chucked in some more of the Chalk Studio chipboard stickers and four empty toilet rolls ...
... which have been squashed flat overnight for reasons which will become obvious when you see the finished project ...
... a little toilet roll mini book for my niece, with pull-out tags for photos and journaling. These mini books are so much fun to make - you can find loads of tutorials on You Tube.
I hope you will have a go at taking it one step further to give your patterned papers a unique twist and remember to share your results on our FB page!
Thanks for reading my post, see you again soon.
Annie :o)xxx
P.S. If you need more 'One Step Further' inspiration, check out Louise's Stitching and Stamping post HERE!
Annie blogs projects full of beautiful details at her blog Arty Farty Annie. Please pop by and say hello!
.JPG)


.JPG)


