Design Team member Jennifer has been working on some projects with the gorgeous MME 12 days of Christmas products.

Jennifer explains how her layout came togther:
I printed my photos at home so they were the size I wanted (approx 3.5” x 5”), but you could trim down some 4”x6” photos to fit. I matted the photos onto a 10” x 6.5” piece of seasons greetings paper, and then adhered this to the Bazzill Basics ‘Quick Sand’ cardstock (which I had machine stitched a border on).
The rest of the layout was built around this. I love the chipboard accessories - they make it so easy to give dimension to the layout and to bring it all together! I had to have the fabulous banner across the top of the page, and I wanted to repeat this with a flag under one of the photos. I made the flag with a bit of ‘b’ side of the ‘Seasons Greetings’ paper that had been left over – the great thing about ‘b’ sides is that you always know they’ll co-ordinate with your page. I made the flag pole with a bit of the chipboard sheet – part of the negative area around the shapes – I just cut a rectangle from it with scissors and inked the edge with a blue ink pad. I added a title with some Jenni Bowlin chalkboard stickers.
I had fun decorating my tree with the twine and a rhinestone from the pack of trims. The Chipboard Accessories are sticky on the back so the twine was easily held in place when I wound it round.
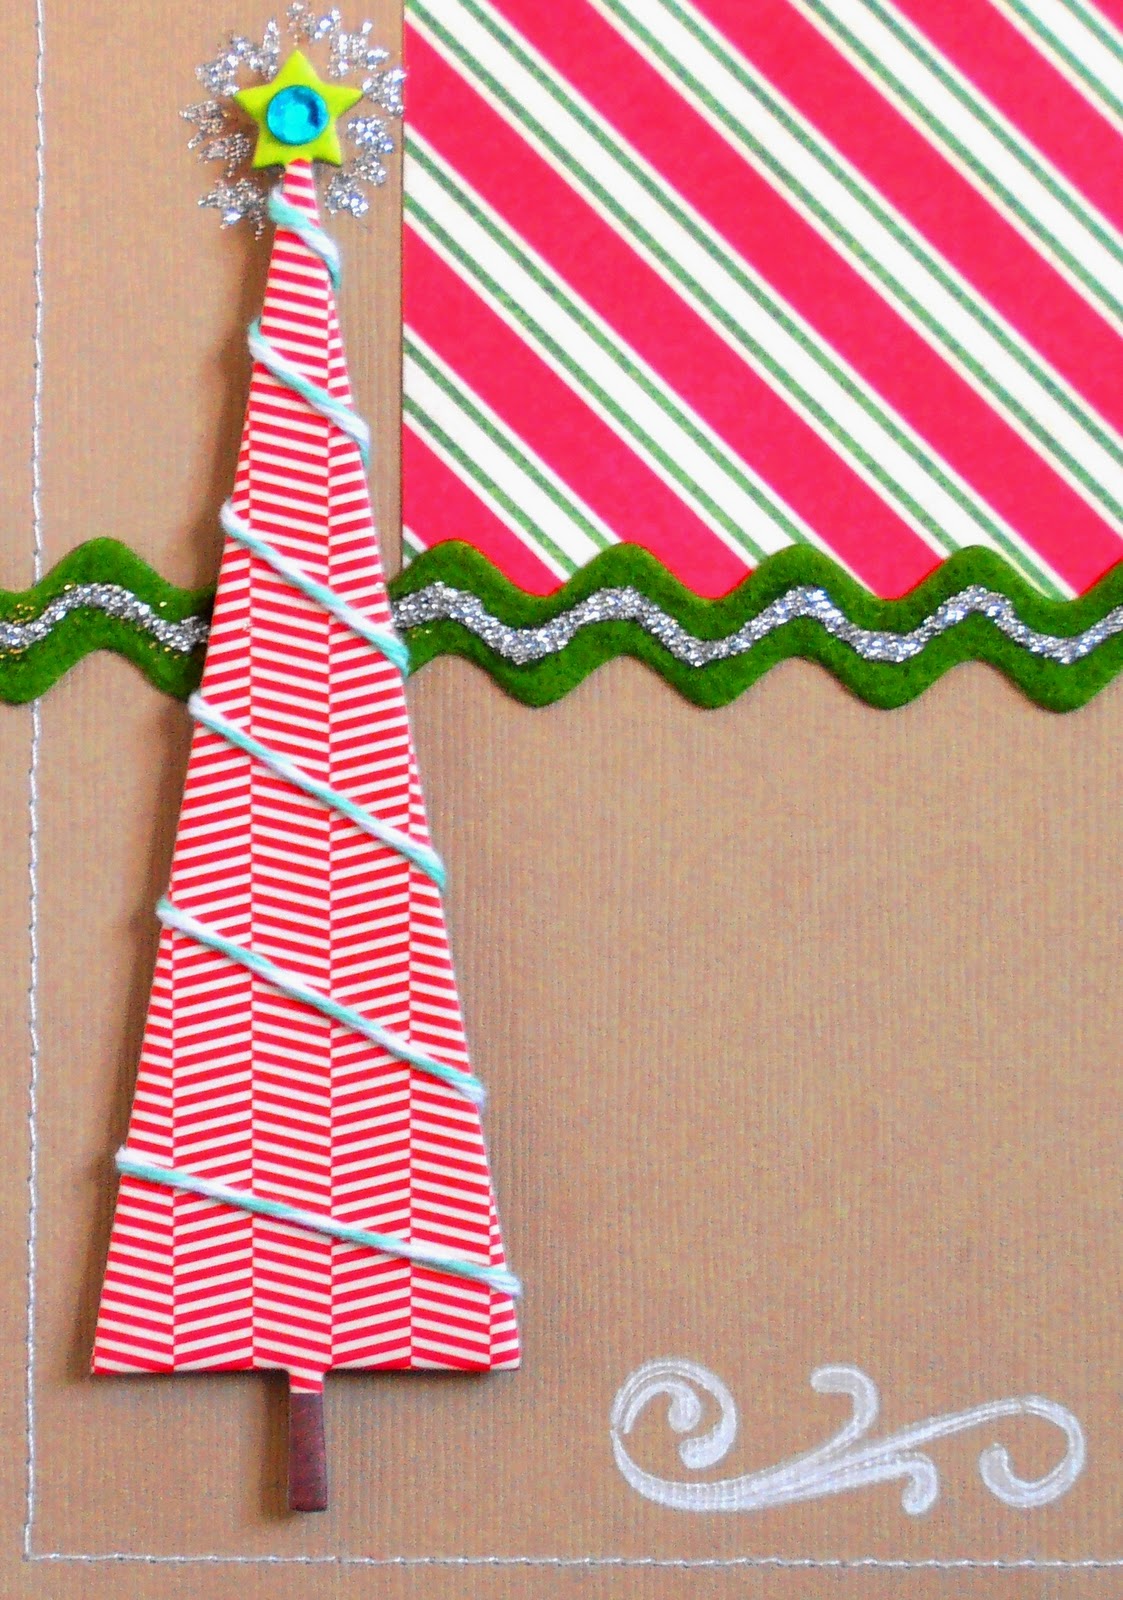 |
| Close Up of tree with twine! |
I added some silver glitter glue along the green ric rac – this was a happy accident!! I used the wrong adhesive (wet glue instead of tape) on the ric-rac and it showed through, so I had to cover it up with something – I went for glitter glue. I’m only telling you so you know you don’t have to give up on projects if something goes a little wrong, I’m glad it did as I like the addition of the glitter!
The strip on the bottom right is actually the barcode strip on the Seasons Greetings paper – don’t forget to keep hold of these little strips as they are great for adding a little extra detail.
I love how the MME 12 Days of Christmas is so bright and goes so well with my daughter’s personality and outfits!
Christmas Cards
I used to be amazed when I saw people making cards with patterned papers and big chipboard elements – I loved how they looked but thought ‘how can they afford that?’ Then I realised that you only need to use one big, or a couple of small, chipboard elements per card and you can get a couple of cards out of each 12x12 sheet. I’ve worked out these cards cost less than £1.50 each to make, which is much cheaper than a nice card like this would be in the shops. As long as I use up all the elements of chipboard, then they are cost-effective and so quick to make!
Happy Holidays Card

Supplies:
MME 12 Days of Christmas ‘Tinsel’ Paper, Chipboard Accessories, Trims, and Rhinestones.
Lace trim
White Cotton
Techniques:
I cut the ‘Tinsel’ paper down to make an A6 card. This paper was great for a card as the ‘b’ side is almost plain red (very faint pattern) – if you use a paper with a busy pattern on the ‘b’ side you will also need to line the card to give yourself somewhere to write!
I used some pom-pom trim around the edge of the circular ‘happy holidays’ greeting from the chipboard accessories sheet. It was easy to do this because the Chipboard is sticky-backed, and I only had to add a little extra adhesive to the pom-pom edging when adhering the circle to my card.
I added a strip of a scrap bit of the ‘b’ side under my lace trim so that my line of rhinestones would stand out from the background. The lace trim is machine-stitched onto the card, and I used a little bit of Mod-Podge on the ends of the lace to stop it fraying (PVA glue would probably work for this too if you don’t have Mod-Podge).
Seasons Greetings Card
Supplies:

Bazzil Basics ‘Blue Calypso’ Cardstock
MME 12 Days of Christmas ‘Seasons Greetings’ Paper, Chipboard Accessories, Trims, and Rhinestones.
Anita’s Outline Stickers
Scraps of cream and red card
Uniball White Gel Pen
Techniques:
I used a sheet of Bazzil Basics ‘Blue Calypso’ cut in half to make a 6” square card.
The seasons greetings paper was perfect for cutting into a candy cane shape. I drew the shape in pencil on the back and cut it out. I also thought the line of swirly circles on the chipboard accessories sheet went well with it as they looked a bit like sweets, so I cut the strip to size and added rhinestones to the centres.
The ric-rac and doodled scallops around the card edge both add to the whimsical feel, making the card feel like something that could have been posted from Santa’s workshop!
I hope you have enjoyed these christmas projects and don't forget if you make anything inspired by my projects please do leave a comment so we can come and see too.
4 comments :
Popped over from Jennifer's because her sneaks were too good to resist. Love the layout, but the card with the bobbly trim totally steals the show! :)
Fantastic and they've really got me in the mood for Christmas :)
I love the bobbly trim card! What a great way to use it!
I hopped over from Jennifer's for a look too :) You have chosen an inspirational team!
And I got a lovely surprise when I saw my own blog listed in your sidebar. Thank you!
Post a Comment